
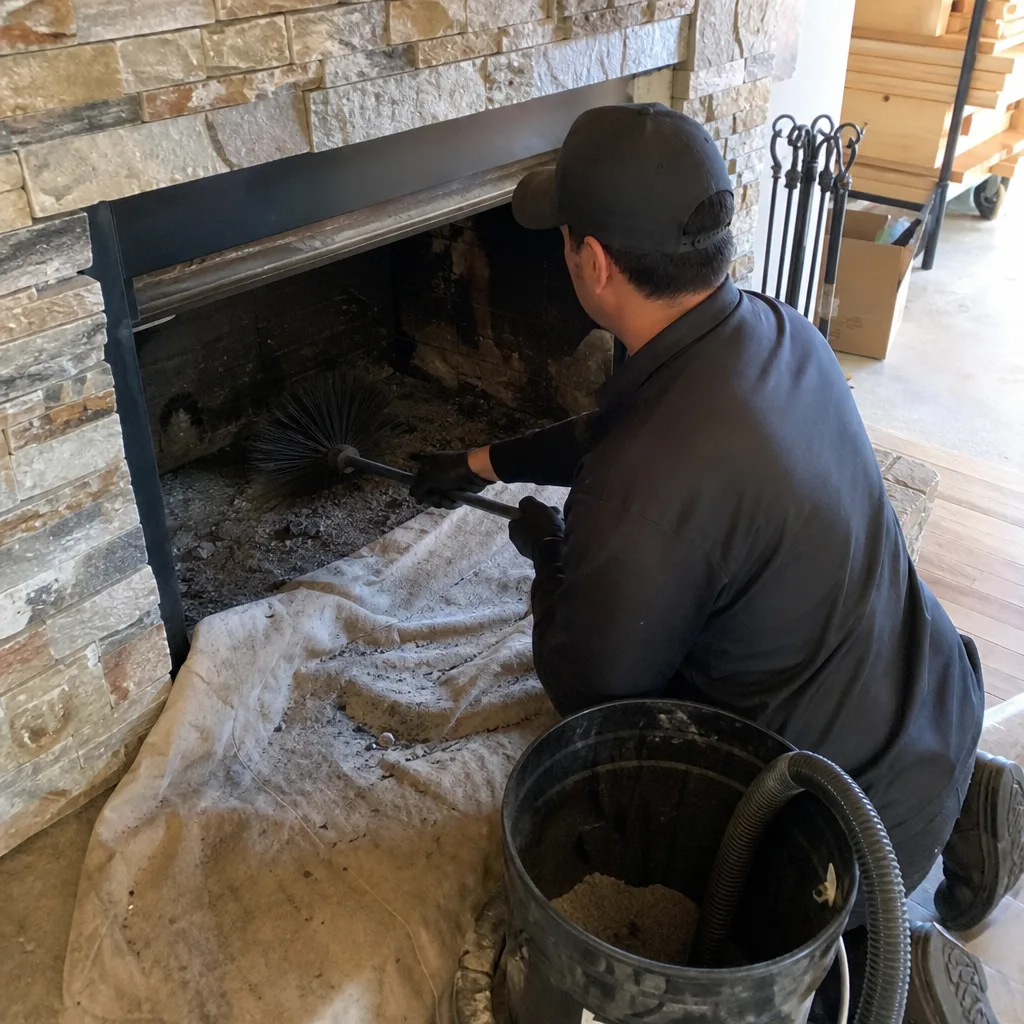
Level 1 sweep and inspection to the NFPA 211 annual standard - flue, crown, cap, and flashing checked and photographed
Chimney sweep logs do not sweep chimneys. They loosen some creosote - which then falls where a brush and vacuum still have to collect it.
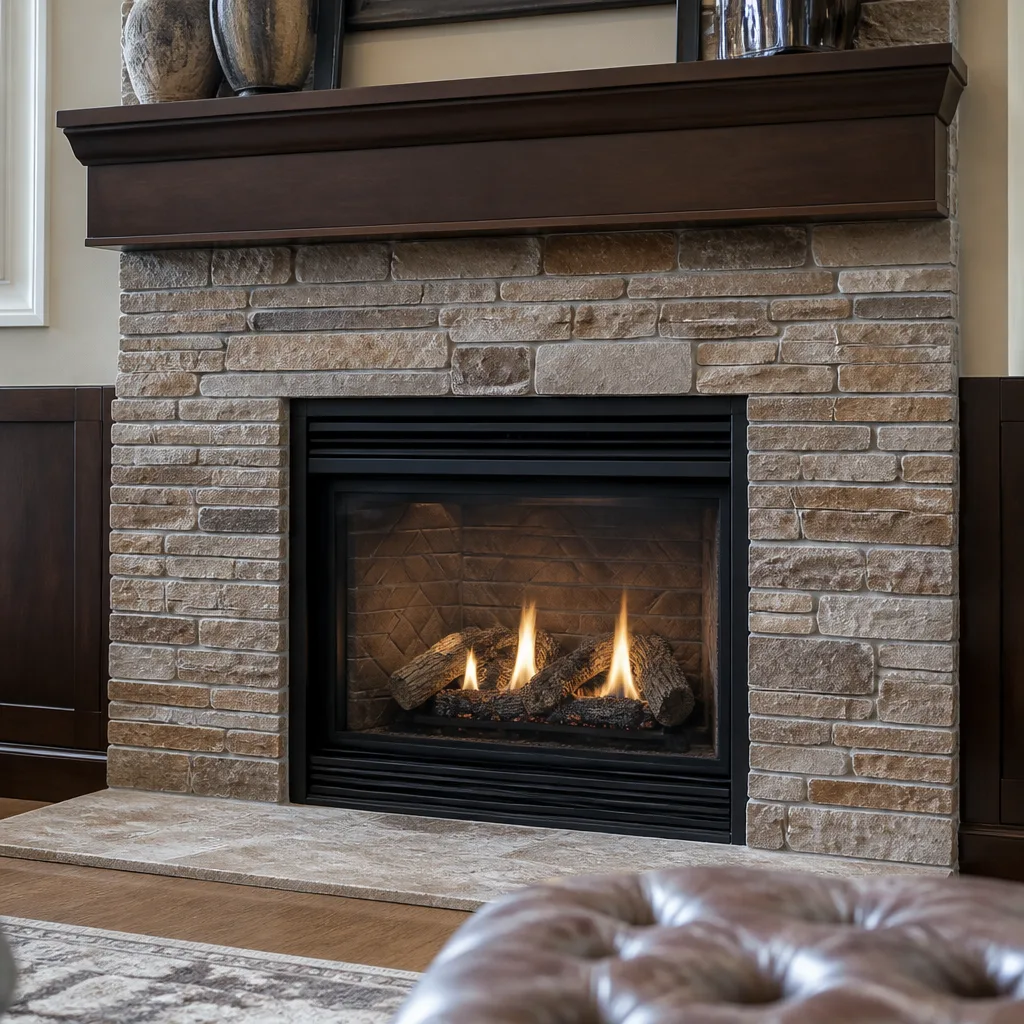
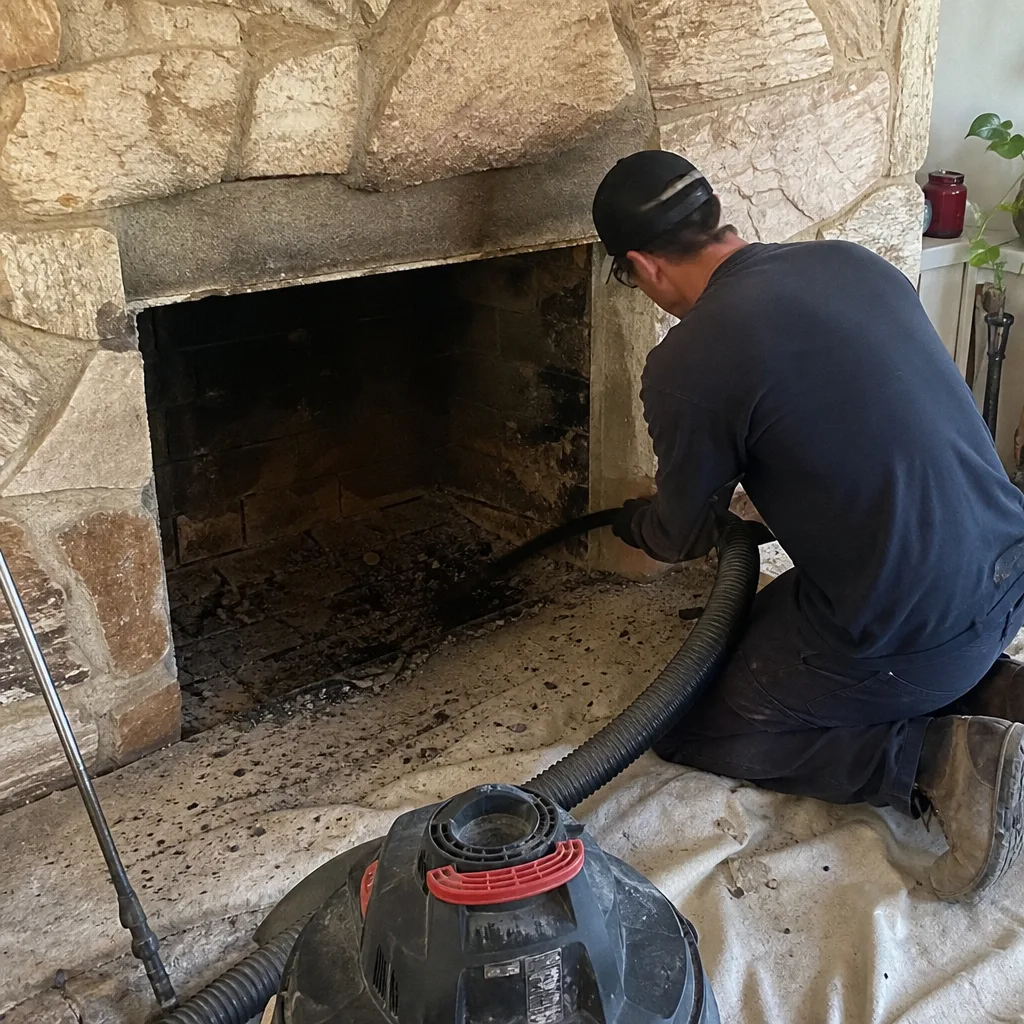 Before
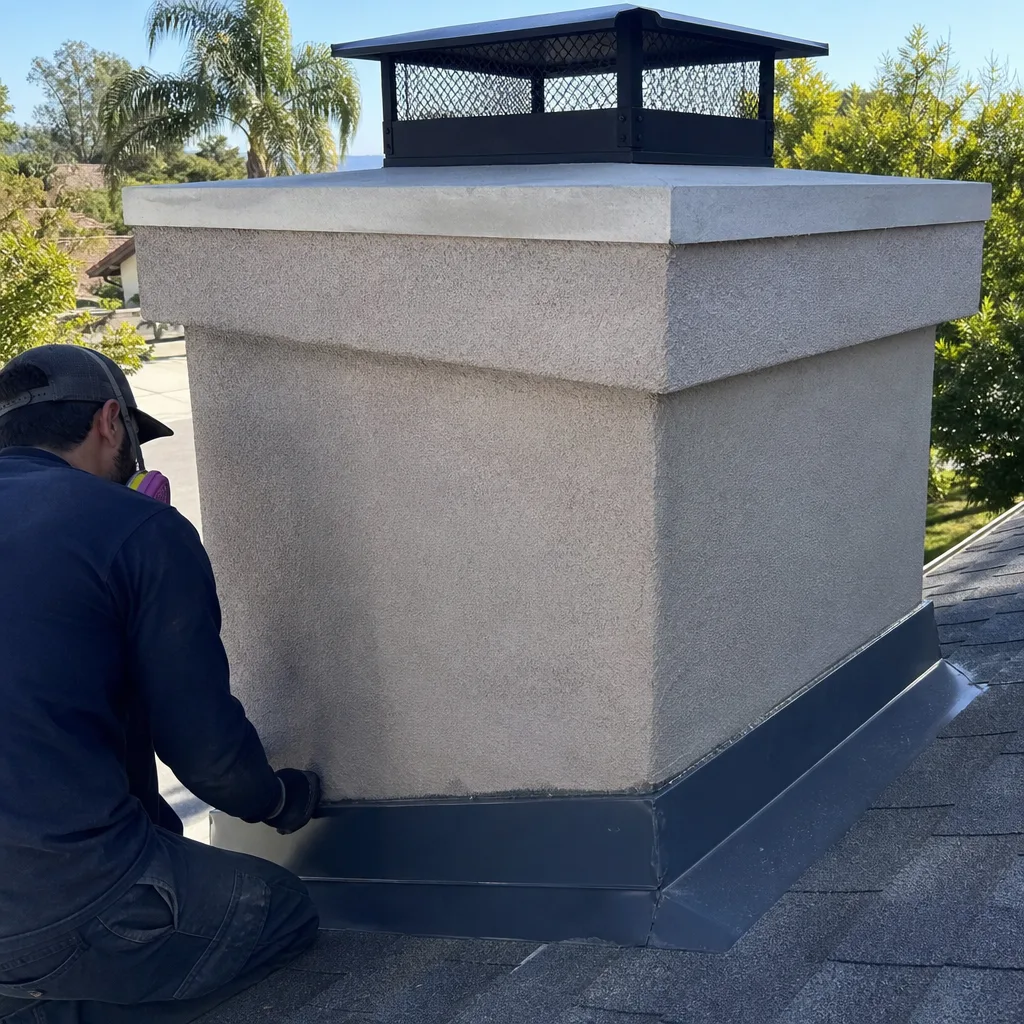 After
After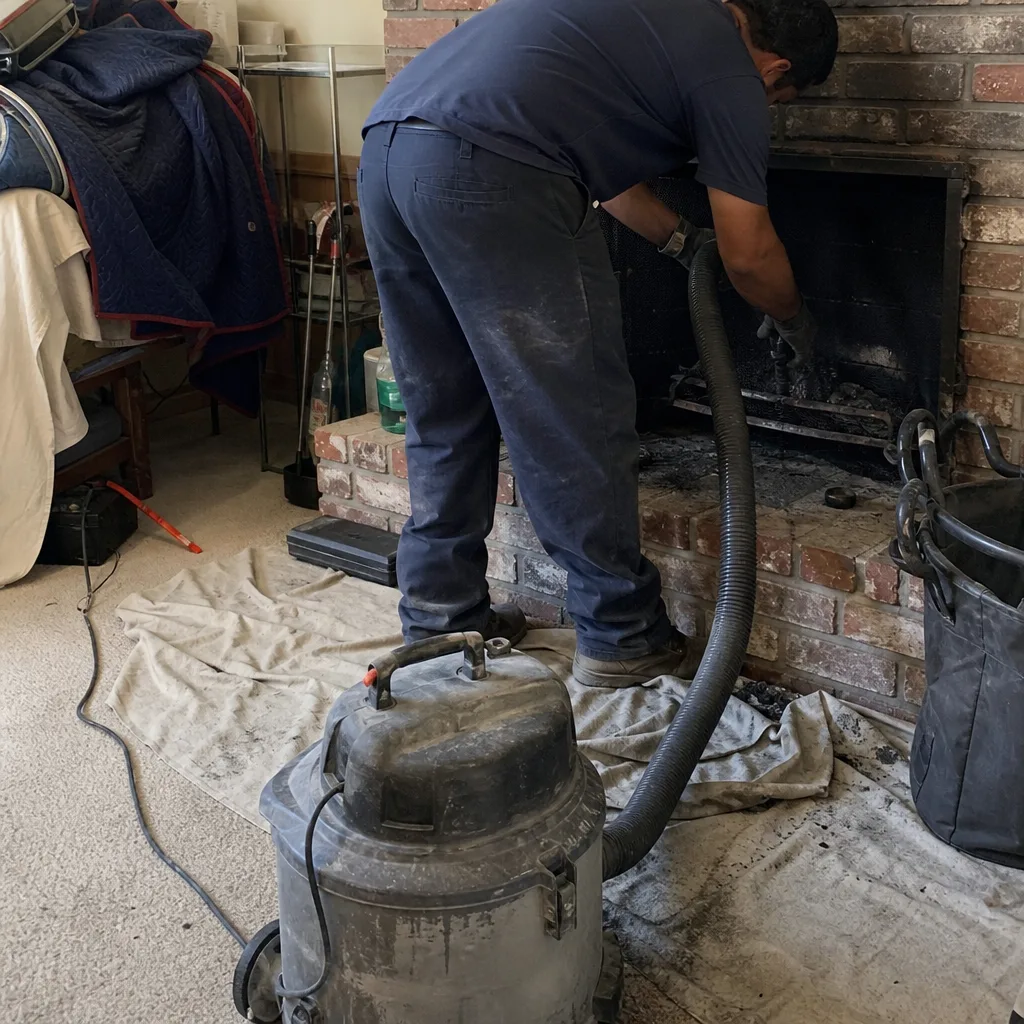 Before
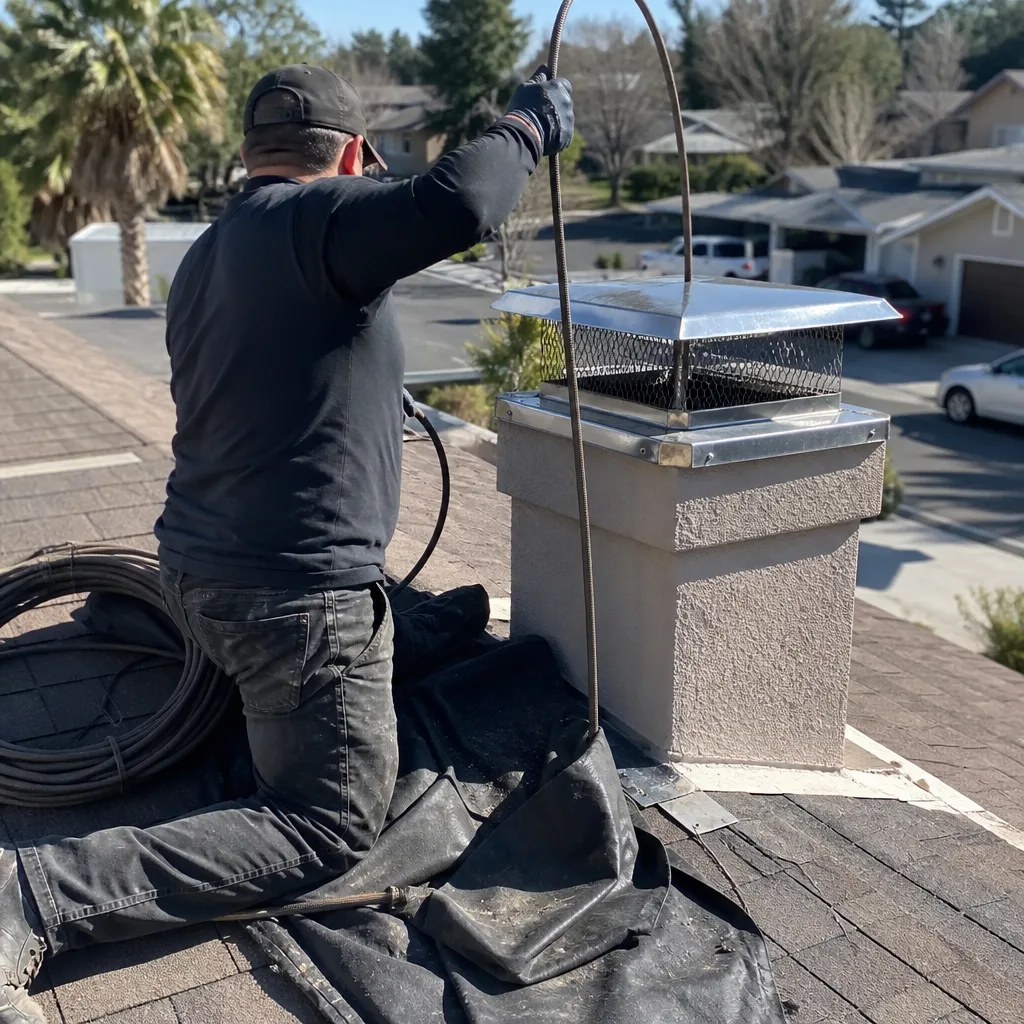 After
After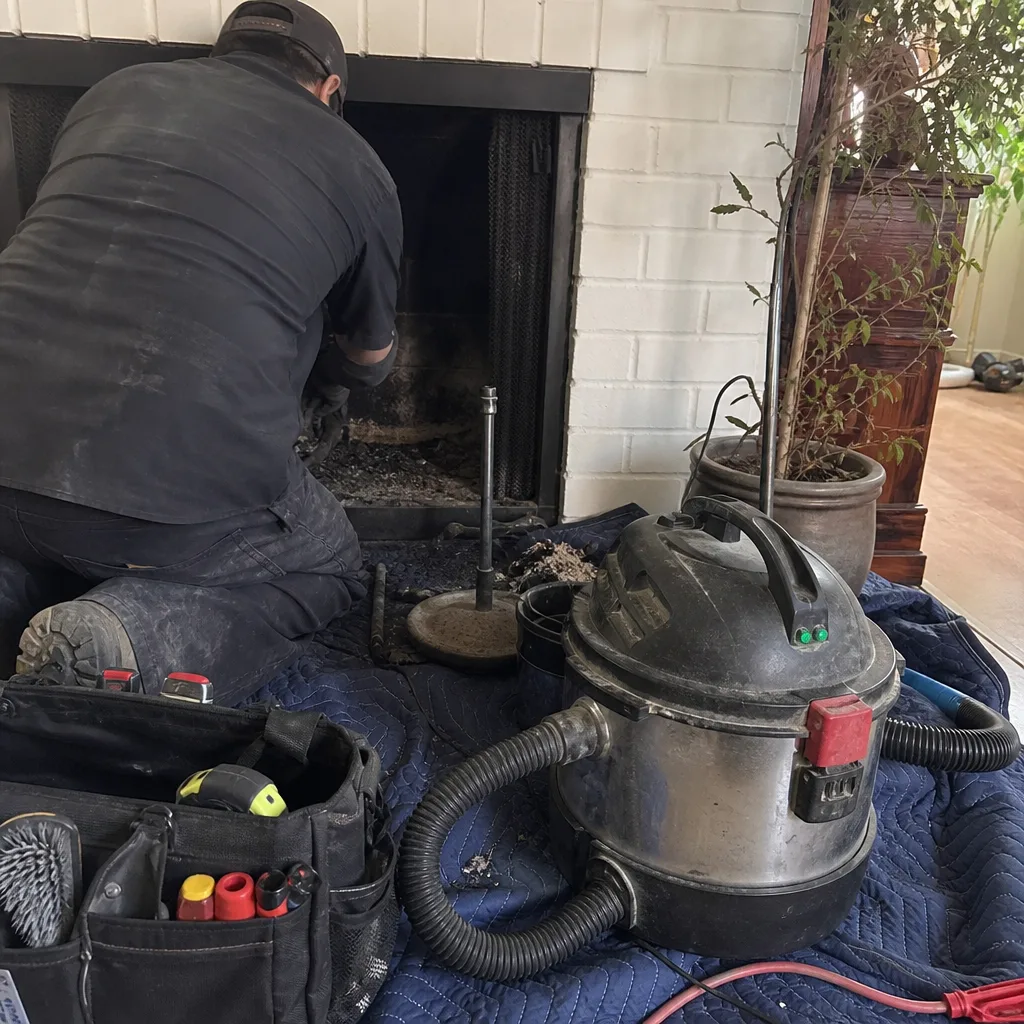 Before
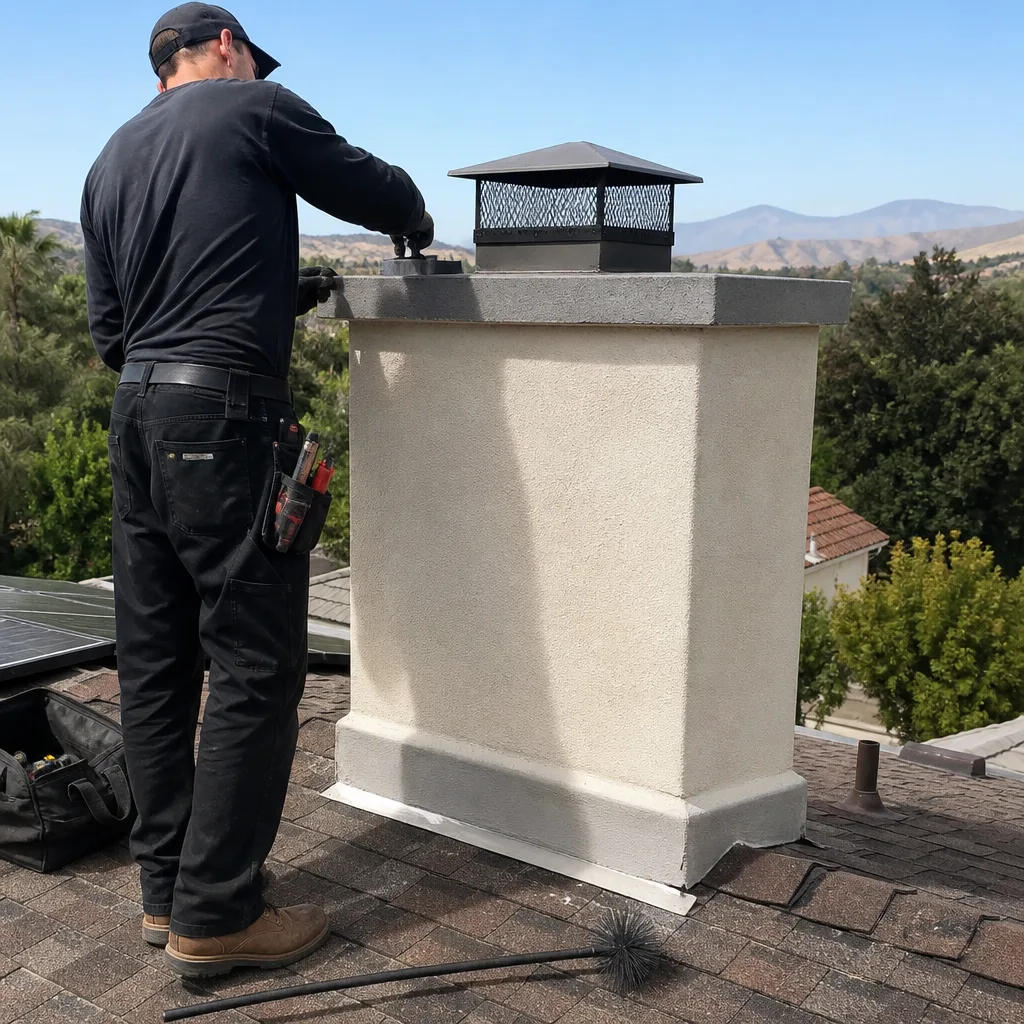 After
AfterDuraFlex Chimney Cap Installation: The Santa Clarita Owner’s Guide
DuraFlex chimney cap installation in Santa Clarita typically runs $340-$680 for most residential flues, including the cap, collar, storm collar, and termination fitting. We stock DuraFlex-compatible caps on our trucks and can usually install within 24-48 hours of booking. Most Santa Clarita homeowners discover the cap has failed during the first fall burn when water drips onto the firebox floor or when a neighbor spots rust streaks running down the stucco from the roofline.
Which DuraFlex Models This Applies To
DuraFlex caps aren’t one-size-fits-all. The part you need depends on which DuraFlex liner series is running up your flue, and getting this wrong means a cap that either won’t seat or creates a dangerous draft restriction.
We most commonly see three DuraFlex configurations in Santa Clarita homes:
- DuraFlex SW (Stainless Wall): The standard 316Ti stainless liner. Cap diameter must match the liner I.D. exactly, typically 3″, 4″, 5″, 6″, 7″, or 8″. The collar depth is 13/16″ on SW caps, and the storm collar rides higher than on other brands.
- DuraFlex Pro: Heavy-wall 316Ti with a thicker termination. Uses a reinforced cap base that won’t interchange with standard SW hardware. If your liner was installed after 2018, check for the Pro stamp on the termination plate before ordering parts.
- DuraFlex HT (High Temp): Alloy 625 for condensing appliances. The cap is alloy-matched; putting a 316Ti cap on an HT liner voids the warranty and risks premature failure in the Santa Clarita summer heat cycles.
Identification is straightforward if you can safely access the roof: the DuraFlex label is stamped on the termination plate, or the liner I.D. is printed every 10 feet during factory spooling. No label visible? We measure the flue opening and liner wall thickness with a caliper, then match to the DuraFlex spec sheet. We’re an independent service provider, not affiliated with DuraFlex, so we source both OEM caps and equivalent-grade aftermarket units through our Haven buying network to keep the price honest.
The common gotcha in Canyon Country and Sand Canyon installations: older DuraFlex SW liners sized in nominal inches were sometimes paired with actual metric masonry flues. A “6-inch” cap on a true 150mm flue leaves a 1.6mm gap, enough for driving rain to enter during Santa Clarita’s winter storm bursts.
Signs Your DuraFlex Chimney Cap Installation Is Failing
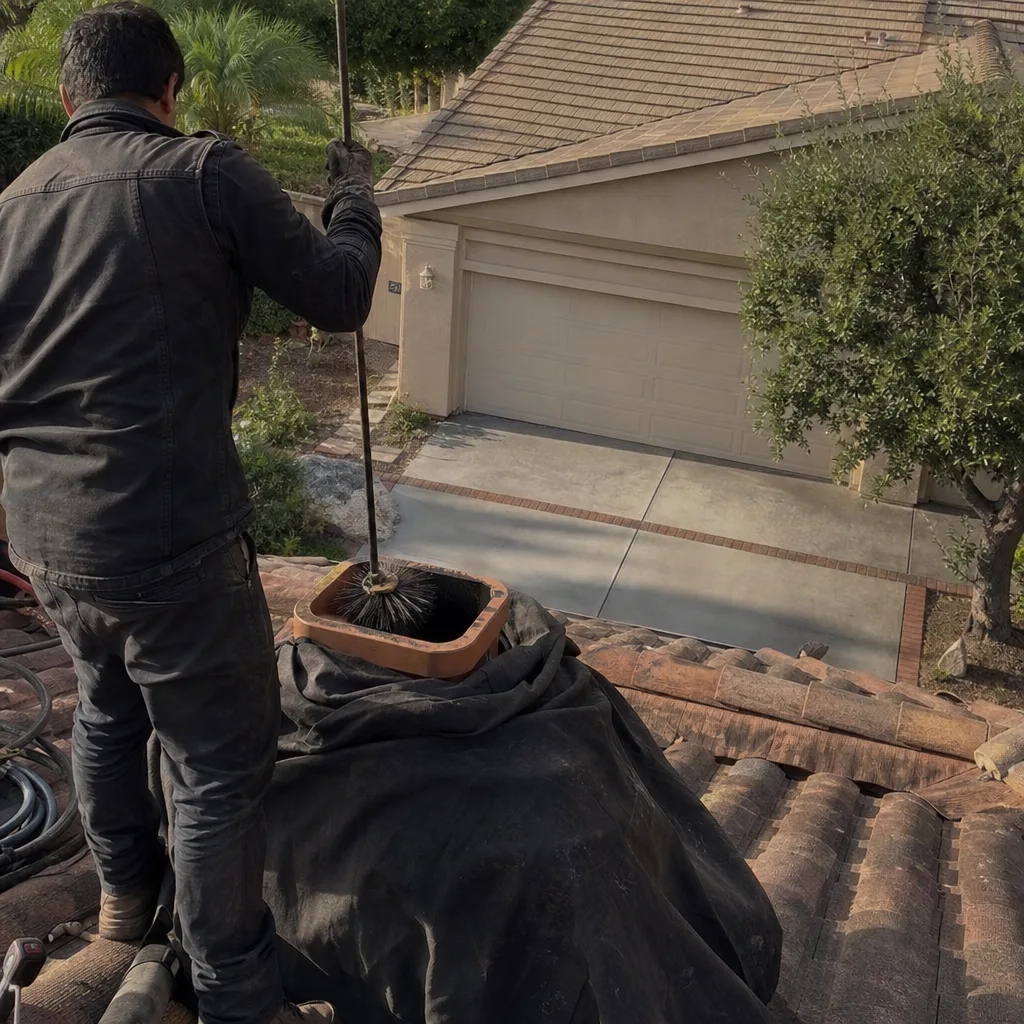
- Rust-colored streaks on the exterior masonry or stucco. The 316Ti stainless resists corrosion, but the storm collar and cap base are often 430-grade or galvanized steel on budget installations. Once the seal fails, cap runoff carries iron oxide down the chase. In Santa Clarita’s low-humidity climate, this shows up as dry staining rather than active dripping until the first heavy rain.
- Water pooling in the firebox or rust on the damper plate. The cap’s primary job is deflecting precipitation. A cracked or dislodged cap lets water run straight down the flue liner, where it collects on the smoke shelf or damper. We see this most often in Saugus homes with zero-clearance fireplaces where the chase cover and cap were both original to a 1990s build.
- Bird nesting debris or squirrel droppings visible from below. DuraFlex caps include a mesh spark arrestor. When the mesh corrodes or the cap tilts from wind shear, animals enter. Santa Clarita’s hillside neighborhoods, Valencia Summit and areas along Soledad Canyon Road, see more of this due to open space corridors.
- Draft problems or smoke rollout on startup. A cap crushed by falling branch impact, or one clogged with creosote and ash, chokes the flue. The DuraFlex cap’s internal geometry is designed for specific flow rates; partial blockage throws off the draft calculation that was done at installation.
- The cap is visibly tilted, missing fasteners, or sitting loose on the collar. Santa Clarita’s Santa Ana wind events, particularly October through March, test every roof penetration. DuraFlex uses a band-clamp system that loosens over thermal cycles if not re-torqued. A cap that shifts even 15 degrees no longer sheds water properly.
 Before
 After
AfterReplacement Cost & What’s Included
| Component | Price Range (Santa Clarita) |
|---|---|
| DuraFlex-compatible cap (OEM or equivalent-grade) | $140-$280 |
| Replacement storm collar and sealant | $45-$85 |
| Labor: remove old cap, inspect flue termination, install and seal new assembly | $155-$315 |
| Total installed | $340-$680 |
What drives the range: roof access difficulty (single-story ranch in Newhall versus three-story hillside in Stevenson Ranch), whether the old cap left seized fasteners or damaged the collar, and whether we find liner termination issues once the cap is off. We quote the full number in writing before anyone climbs, per Haven Standard Clause 1. That written scope includes the cap spec, labor line, and our 365-Day Done Right Promise. If we find additional work needed, we show you the camera footage first. The camera doesn’t editorialize. Neither do I.
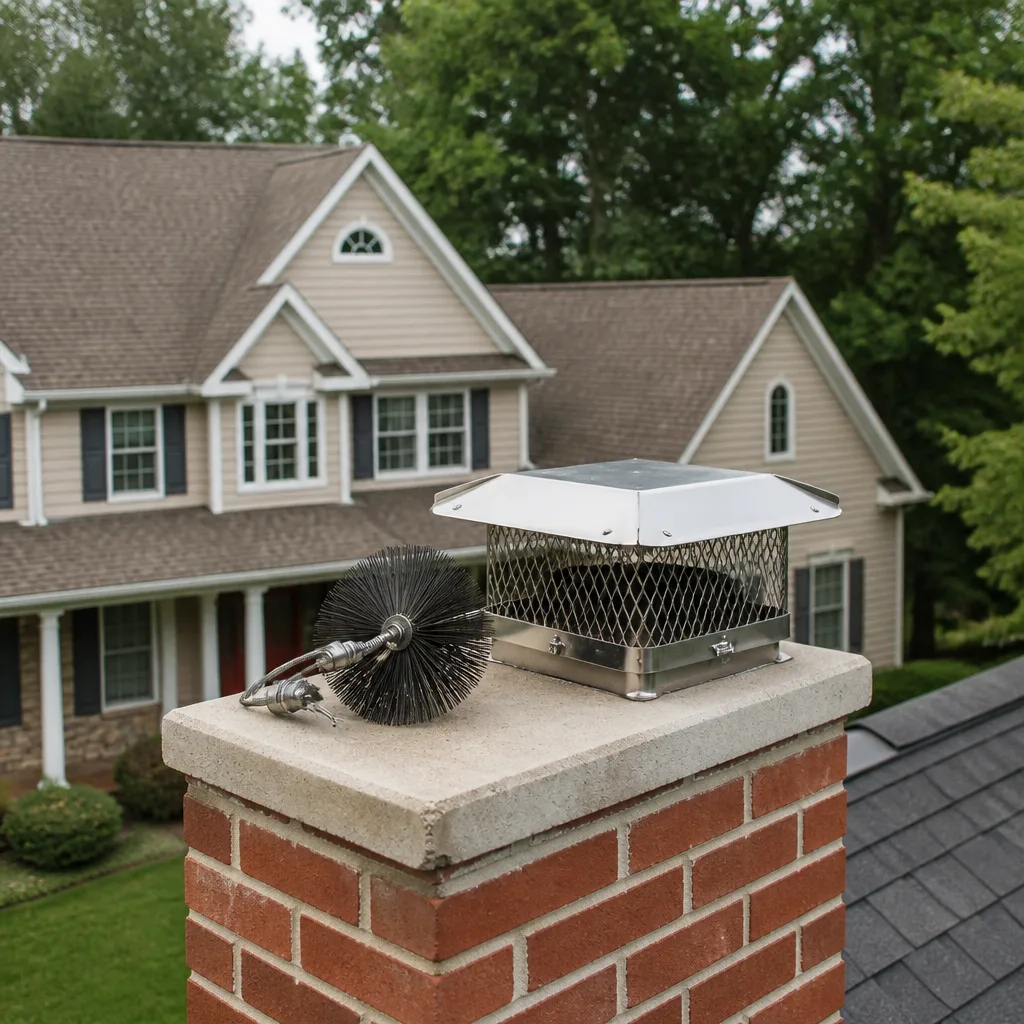
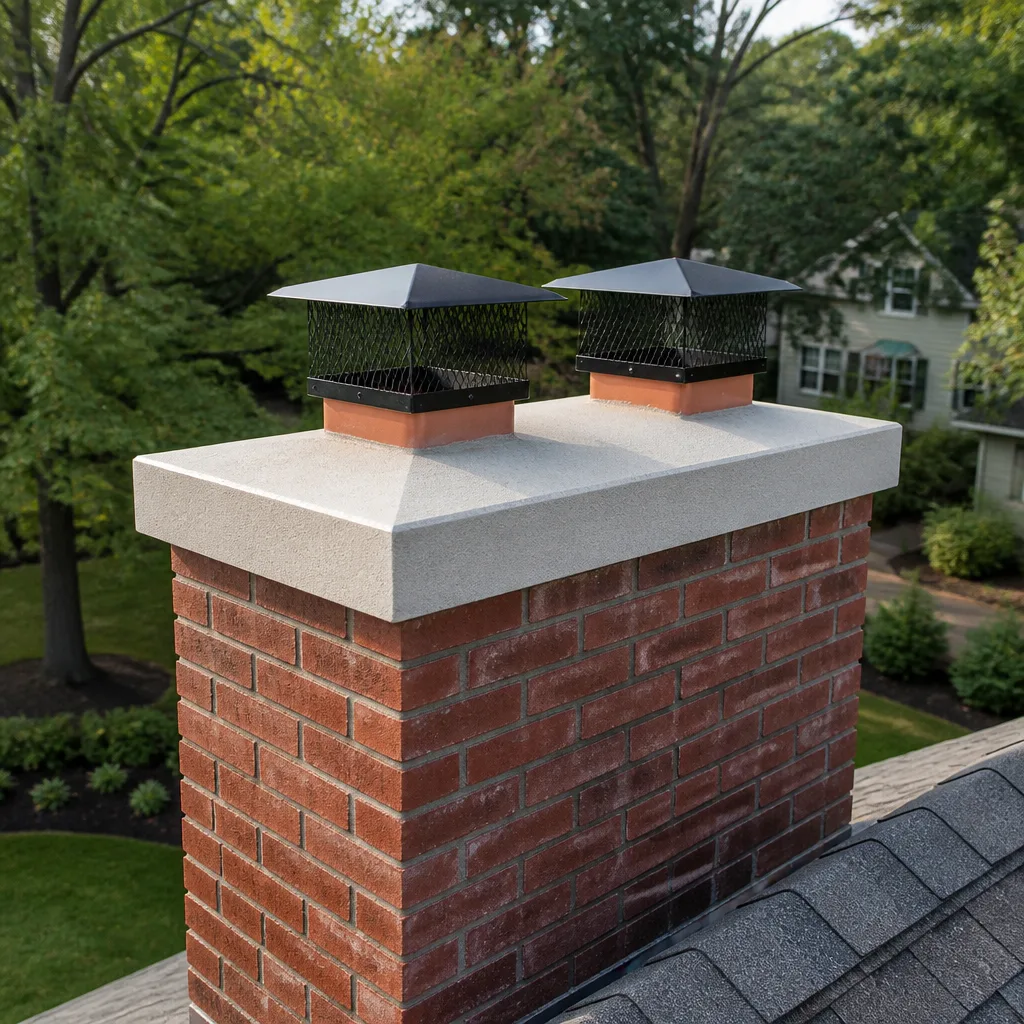
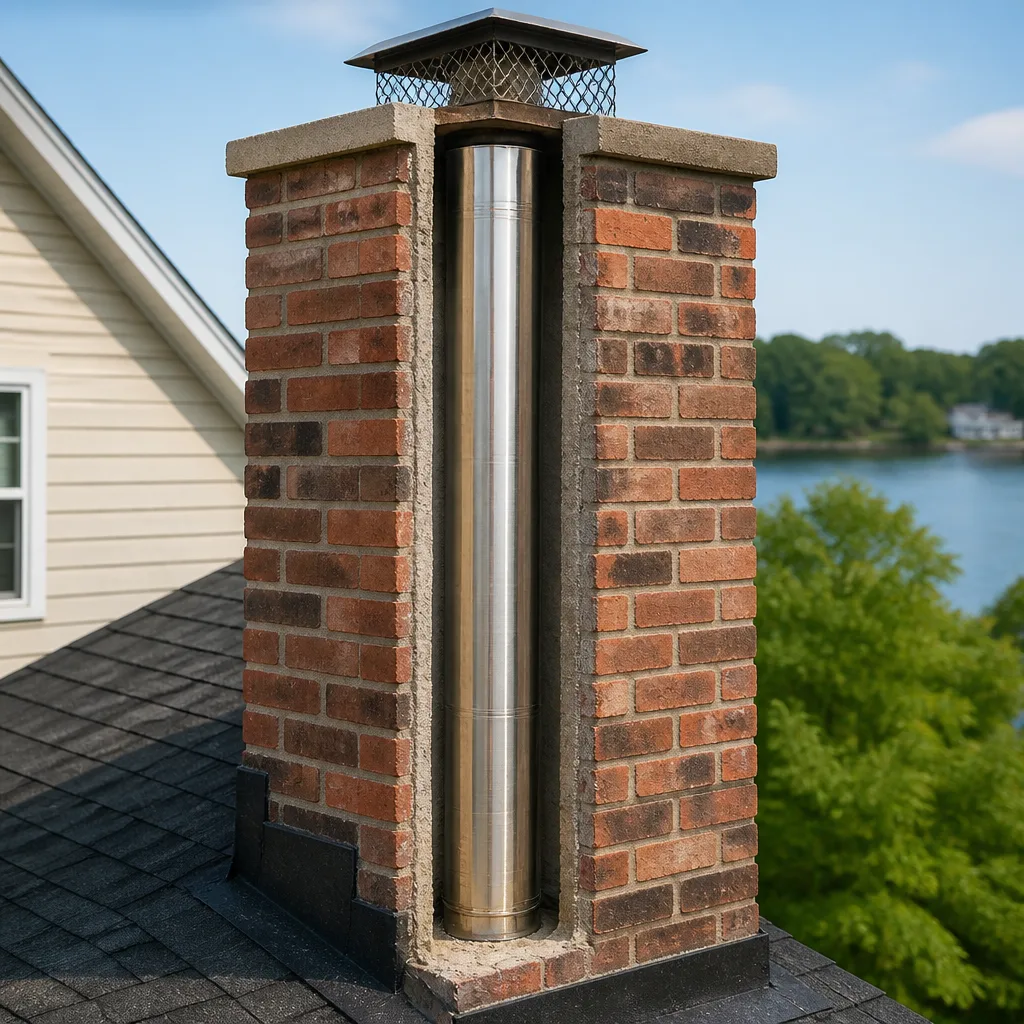
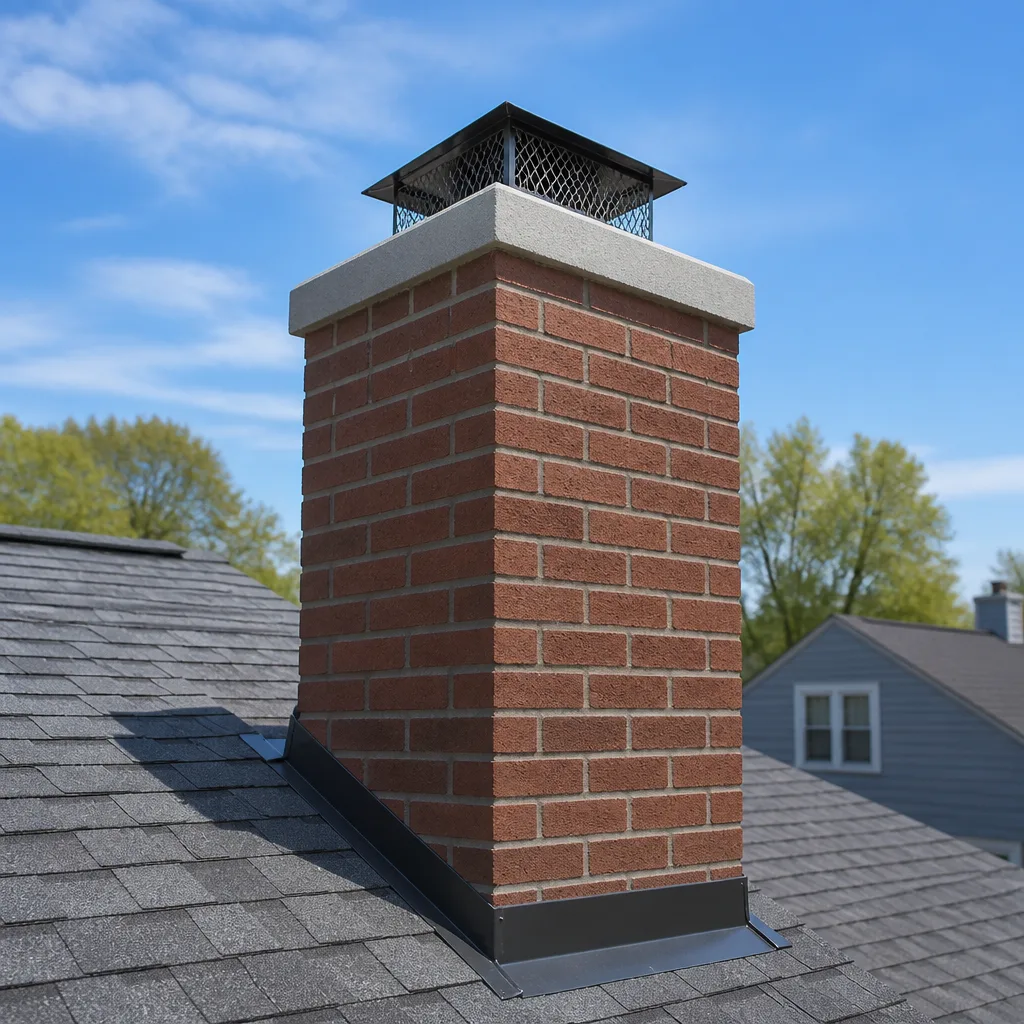
Every installation includes a documented photo record under Haven Standard Clause 4: cap before removal, collar condition exposed, new cap seated and torqued, final alignment from two angles. Corrine Halstead started that practice in 2009, and it’s been standard on all 38,000-plus jobs since.
DIY or Call Us?
Here’s what you can safely check from inside the home: shine a flashlight up the flue and look for daylight around the cap perimeter, or run water from a hose onto the roof area above the chimney while someone watches the firebox for drips. Both tell you if the cap is compromised without putting you on a ladder.
What goes wrong with DIY replacement: DuraFlex caps require proper torque on the band clamp, high-temp sealant at the storm collar, and verification that the liner hasn’t shifted from its original termination height. A cap installed too low traps condensation; too high creates a wind scoop. And any roof work over 15 feet with a slope greater than 4:12 is genuinely dangerous without fall protection. We’ve responded to two Santa Clarita calls in the past year where a homeowner’s ladder slipped during cap inspection.
If you’re comfortable on the roof and have the model number, we’ll sell you the correct cap at our cost-plus rate. Most people prefer we handle it. Call (747) 294-2146 and we’ll book a camera inspection with written pricing.
FAQs
A properly installed DuraFlex 316Ti cap typically lasts 15-20 years in Santa Clarita’s climate, though the storm collar and sealant need inspection every 5-7 years. The intense summer UV and thermal cycling between 100°F days and 45°F winter nights stress the sealant faster than in coastal California. We check both during every Level 2 inspection. Call (747) 294-2146 for an exact quote - estimates are free.
Mesh screens can sometimes be cleaned or spot-welded if the corrosion is minor, but cracked bases, warped collars, or separated storm seals require full replacement. We don’t patch caps because the failure mode always returns within two seasons, and the labor to access the roof twice exceeds the cost of doing it right once. Call (747) 294-2146 for an exact quote - estimates are free.
Most DuraFlex cap replacements take 45-90 minutes of on-site work, assuming standard roof access and no hidden collar damage. We book a two-hour window to allow for full documentation and cleanup. Call (747) 294-2146 for an exact quote - estimates are free.
We carry DuraFlex SW and Pro series caps in 5″, 6″, and 7″ on every truck, with 4″ and 8″ available next-day through our Haven buying network. HT alloy caps are special-order with 2-3 day lead time. Call (747) 294-2146 for an exact quote - estimates are free.
Written by Corrine Halstead, Owner, Level Two Chimney Santa Clarita at Level Two Chimney Santa Clarita, serving Santa Clarita and nearby areas.