
Last updated September 21, 2026
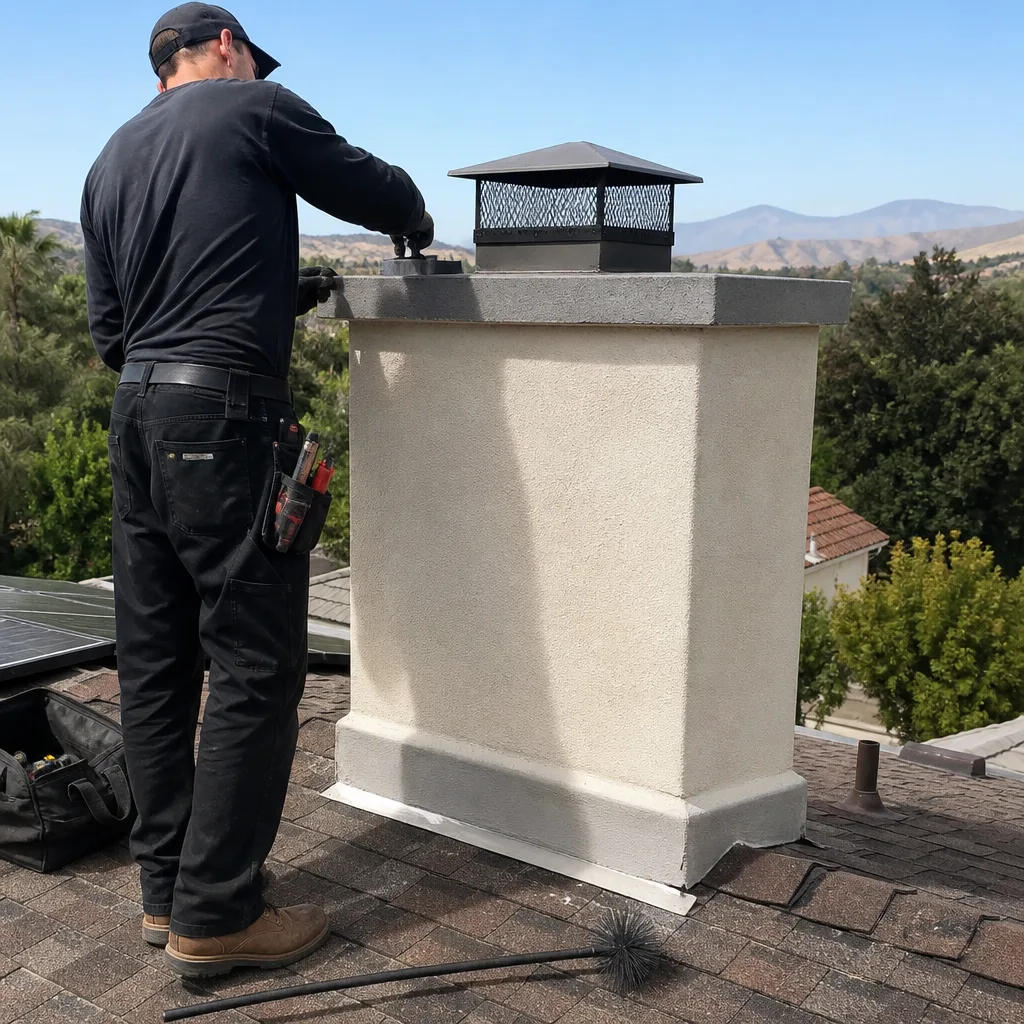
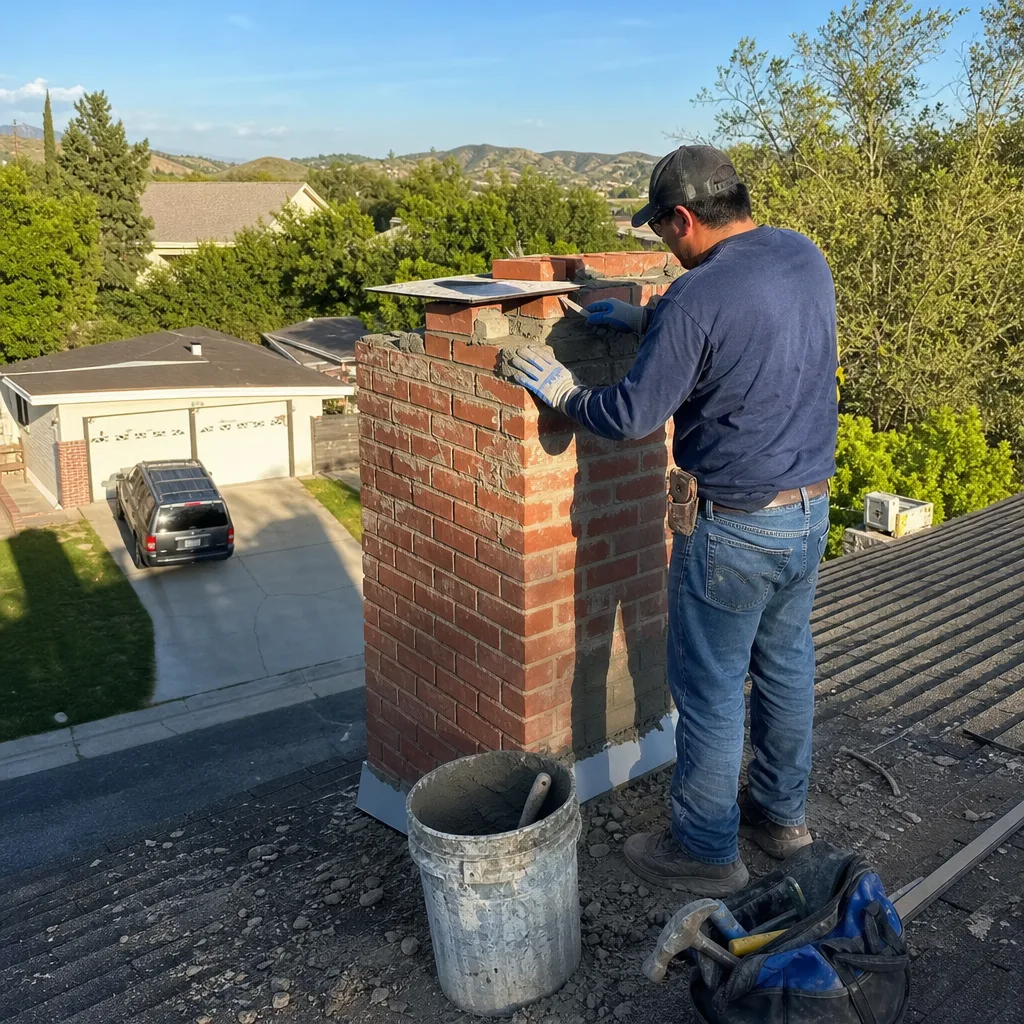
Level 1 sweep and inspection to the NFPA 211 annual standard - flue, crown, cap, and flashing checked and photographed
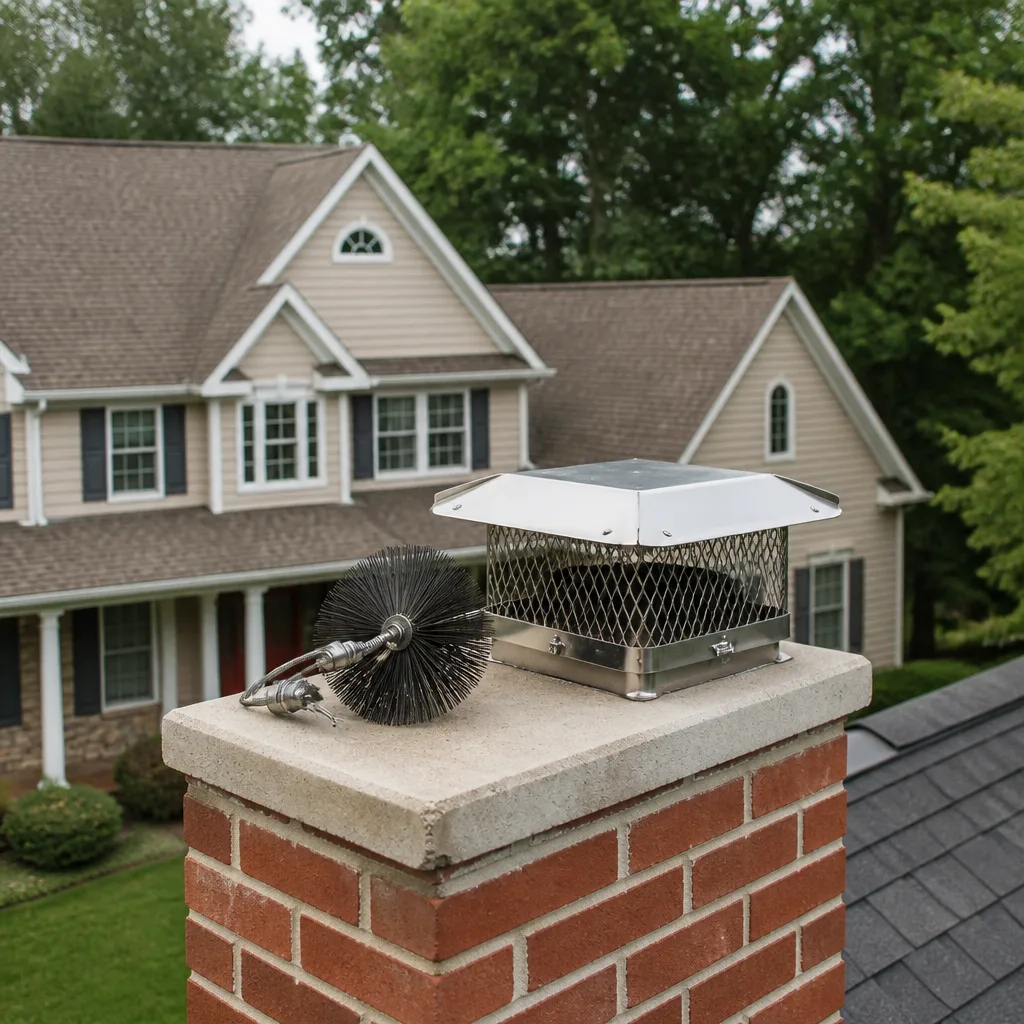
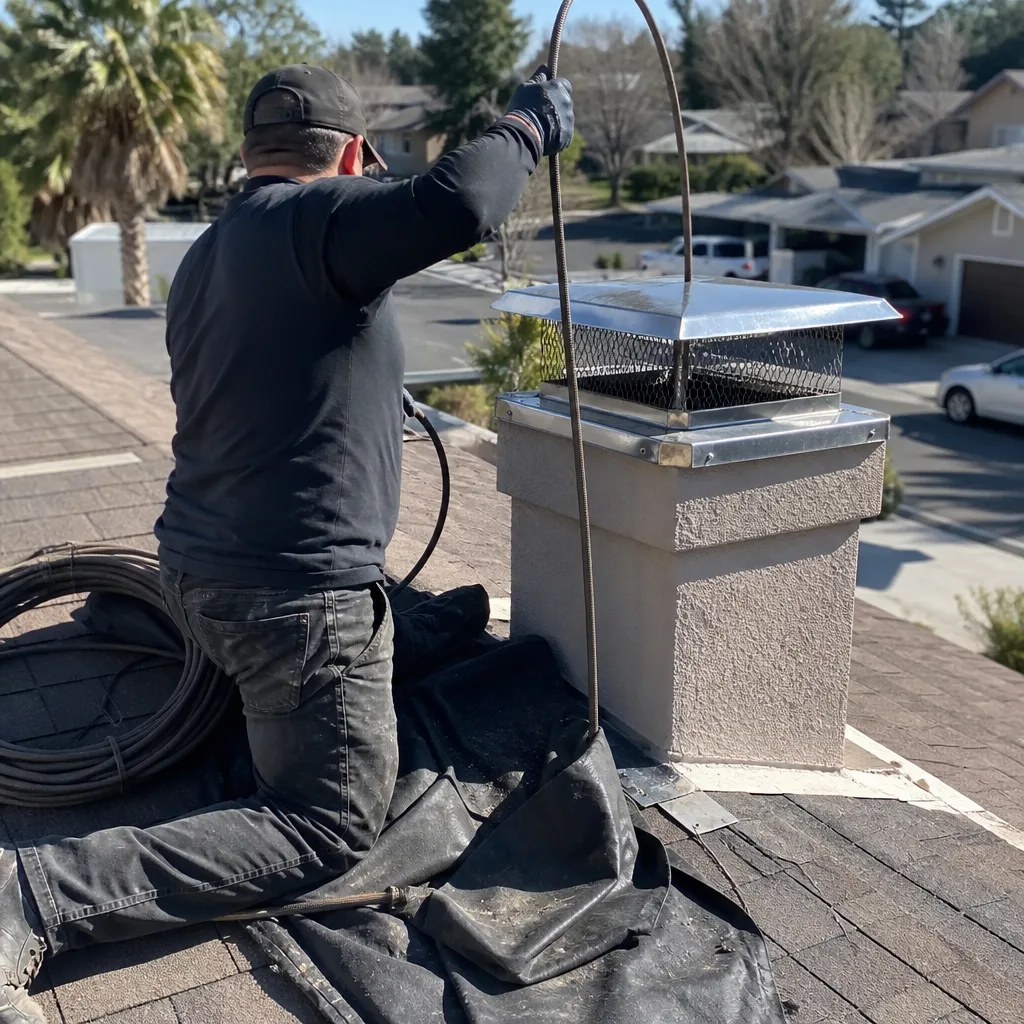
Chimney sweep logs do not sweep chimneys. They loosen some creosote - which then falls where a brush and vacuum still have to collect it.
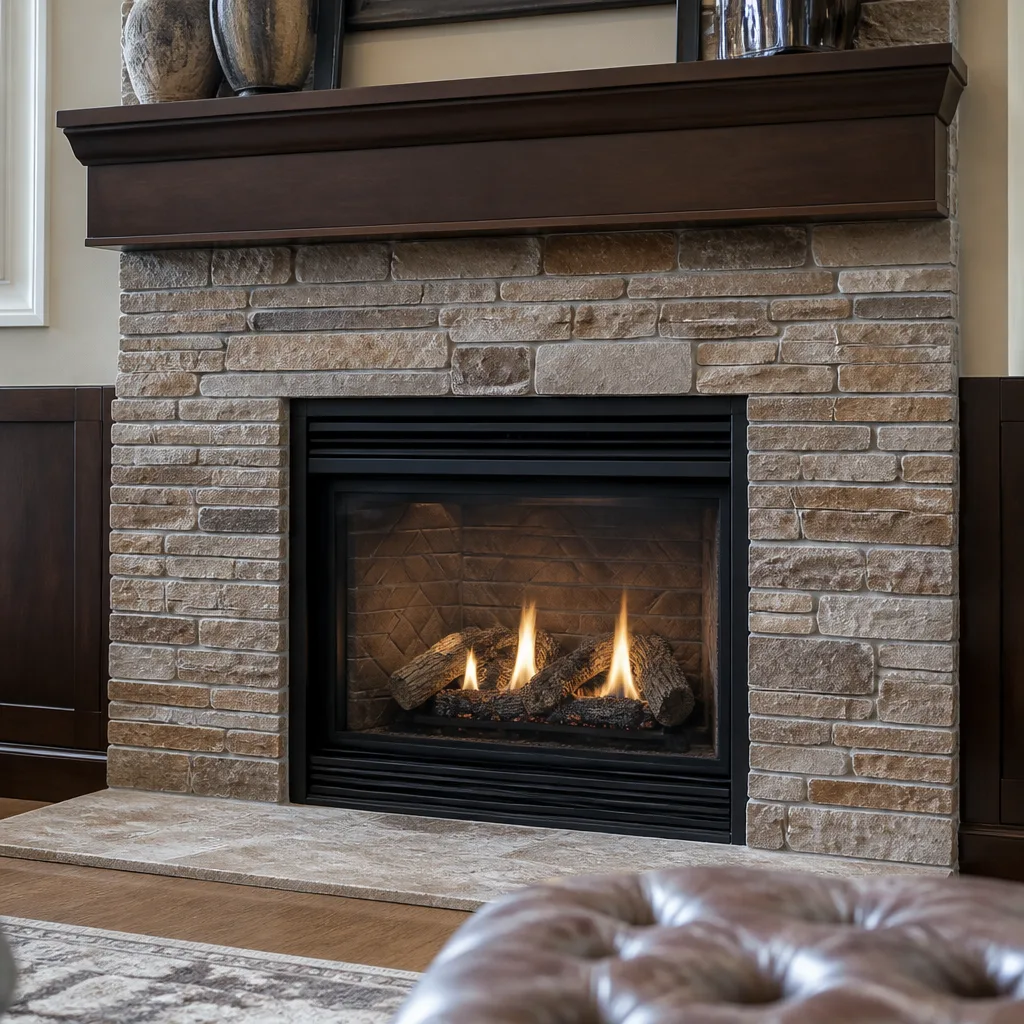
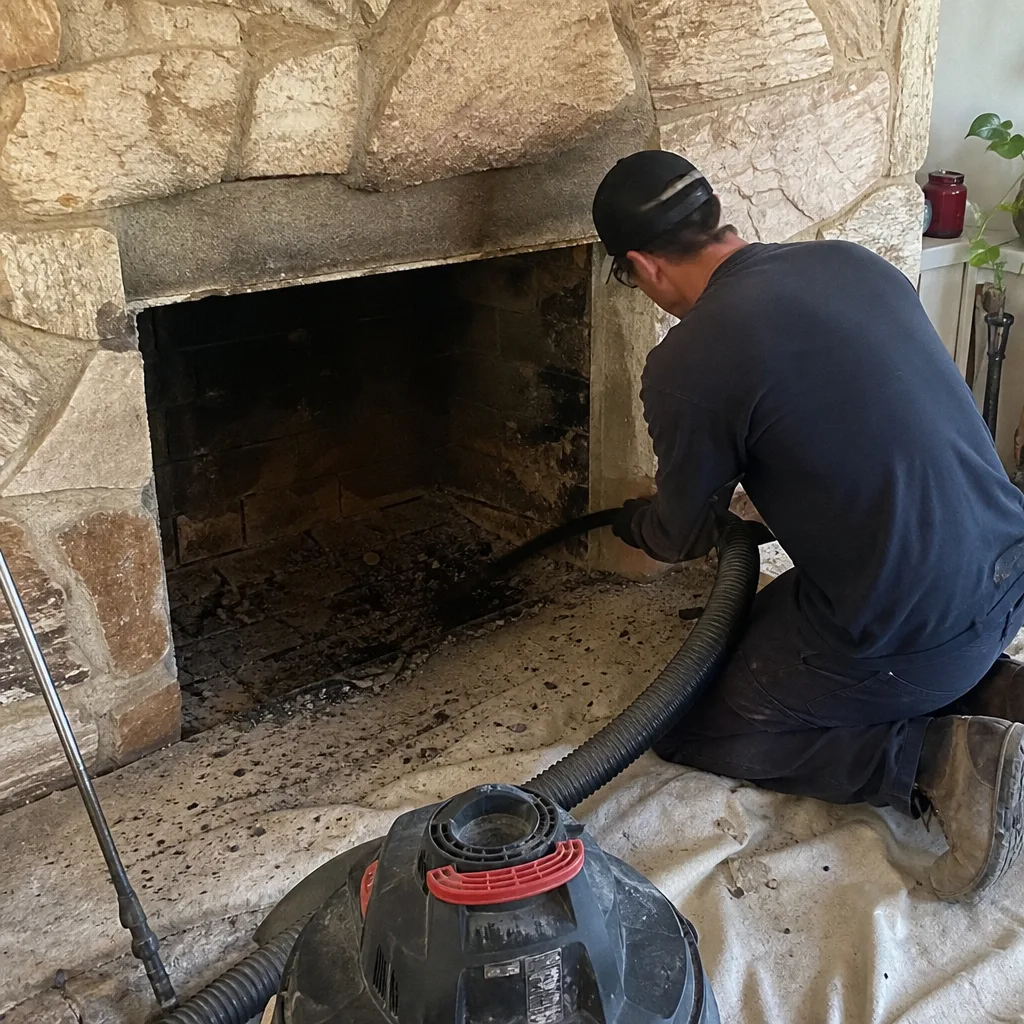 Before
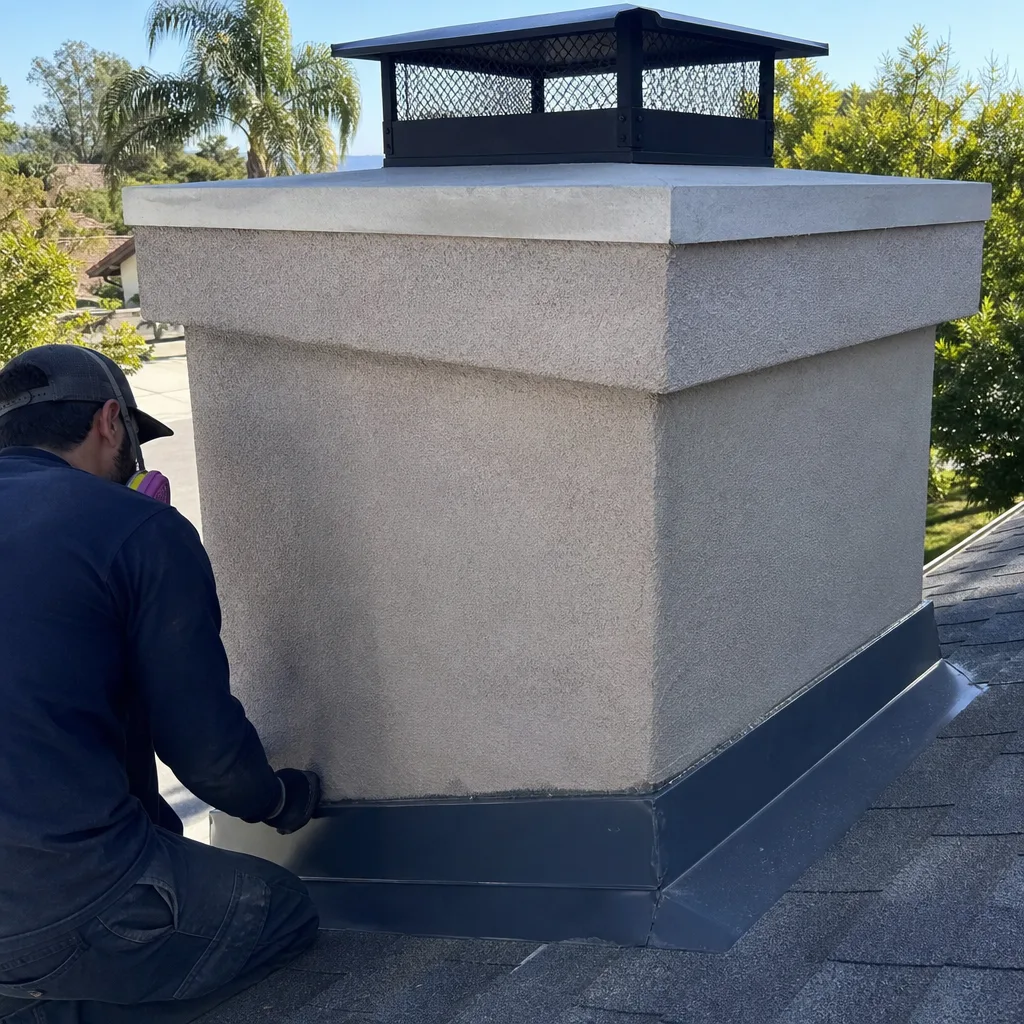 After
After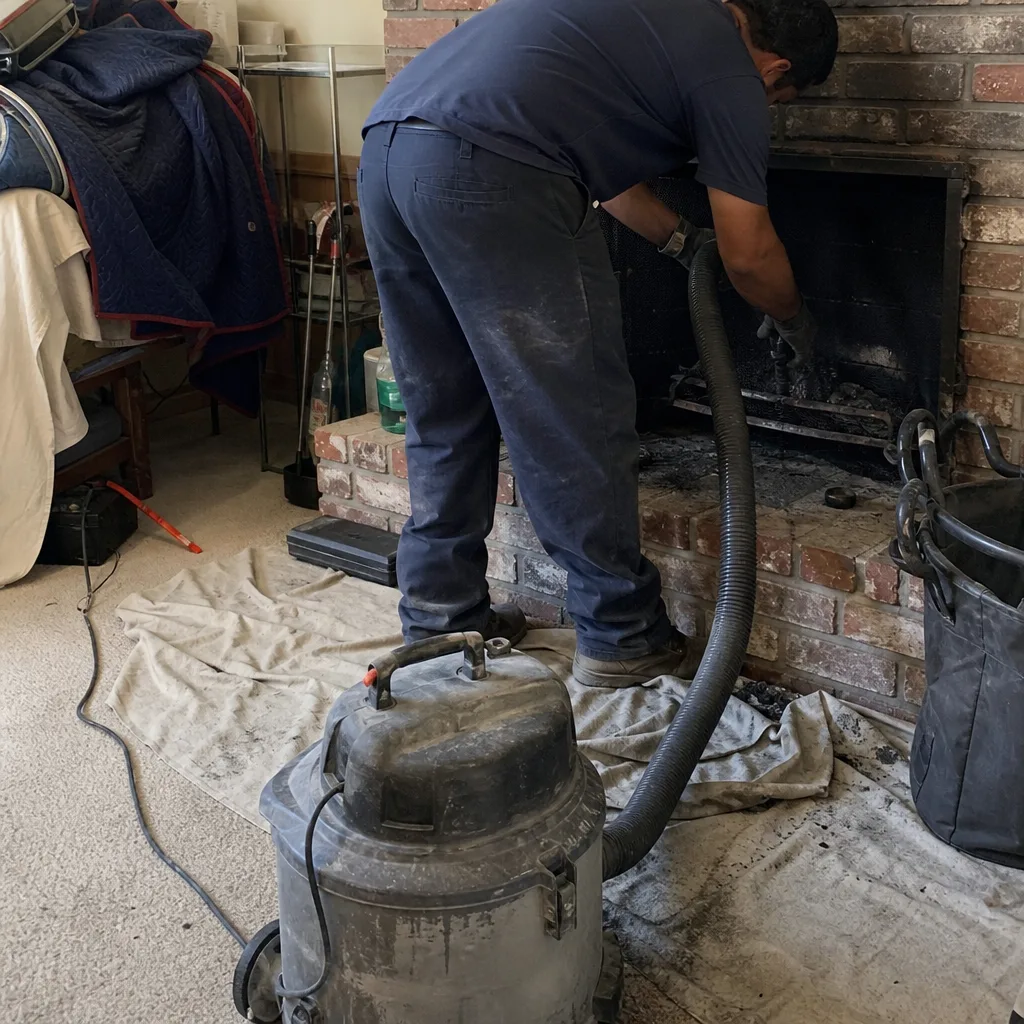 Before
 After
After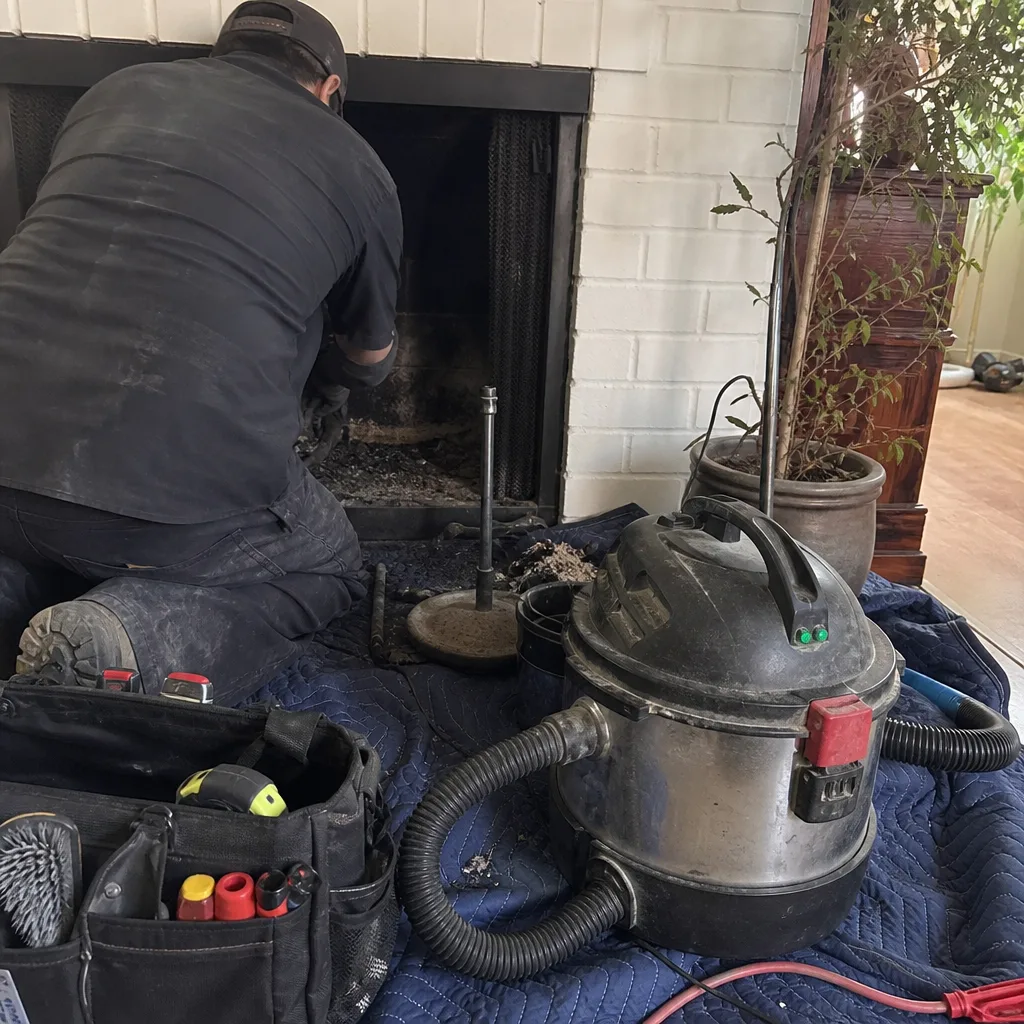 Before
 After
AfterChimney Cleaning Warning Signs: A Santa Clarita Homeowner’s Reference Guide
Here’s the pattern we’ve documented across 38,000 chimney inspections since 2009: by the time a Santa Clarita homeowner smells smoke in the living room or spots a water stain on the ceiling, the flue liner has typically been compromised for one to two full burn seasons. The warning signs that matter most don’t announce themselves with odor or visible debris. They’re camera findings from inspections that were never scheduled. In a climate where summer temperatures above 105°F bake clay tile liners and Sundowner winds drive moisture into crown cracks, degradation accelerates silently. This guide identifies the pre-symptom indicators our Level 2 camera scans catch before they become repair bills.
Quick Answer
The earliest chimney cleaning warning signs in Santa Clarita are camera-detectable, not visible or smellable: Stage I creosote glazing on the flue liner (appears as a matte brown film), hairline thermal cracks in clay tiles from summer heat cycling, and mortar joint recession exceeding 1/8 inch between tiles. These conditions rarely produce smoke smells or draft problems until they’ve progressed to structural damage. A Level 2 inspection with internal camera documentation identifies them 12 to 24 months before symptoms appear.
Table of Contents
- Before the Smell: What Camera Scans Reveal First
- Creosote Stages 1, 2, and 3: What Each Looks Like on Camera
- Santa Clarita Climate Damage: Thermal Cycling and Sundowner Wind Erosion
- Draft Problems: Dirty Flue vs. Structural Defect
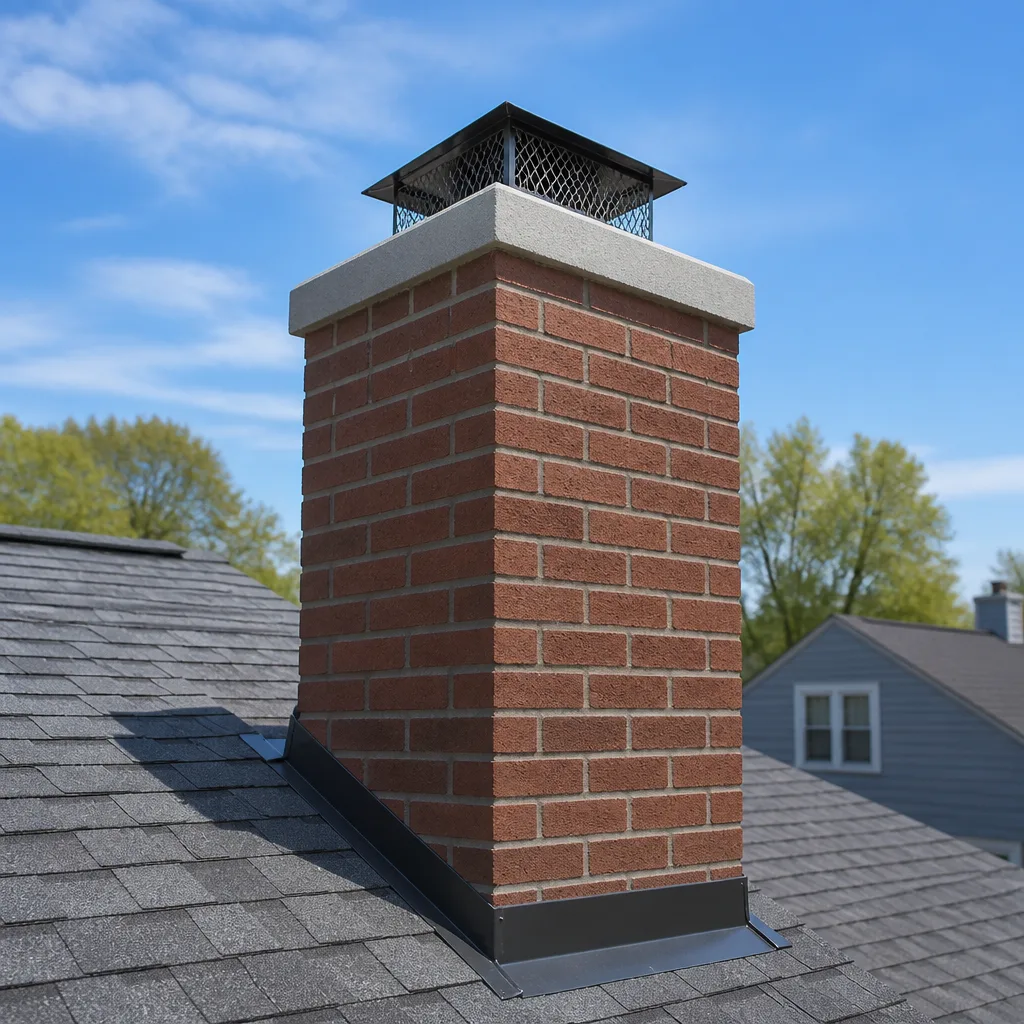
- Exterior Warning Signs That Indicate Interior Liner Damage
- How to Document a Warning Sign Before Calling a Sweep
- When to Schedule Inspection Based on Home Age and Fuel Type
- Common Mistakes to Avoid
- When to Call a Professional
- Frequently Asked Questions
 Before
 After
AfterBefore the Smell: What Camera Scans Reveal First
Every symptom on the standard warning-sign list - smoke backing up into the room, a persistent campfire odor, visible soot on furniture, water stains on the chimney breast - shares a common origin. Something changed inside the flue one or two heating seasons earlier. The change was detectable. It simply wasn’t detected.
At Level Two Chimney Santa Clarita home, our default inspection protocol follows NFPA 211 Level 2 standards: a camera lowered the full length of the flue, with photo documentation of every joint, surface, and transition. We’ve run this protocol since 2009, and the archive practice became Clause 4 of the Haven Standard. What we’ve learned from 38,000 documented inspections is that the critical window for intervention closes before any homeowner-noticeable symptom develops.
The earliest indicators fall into three categories:
- Surface glazing on the flue liner. Stage I creosote, which we’ll detail in the next section, appears as a thin brown or amber film. It doesn’t reduce draft measurably. It doesn’t smell. It does, however, create the substrate on which Stage II and Stage III deposits form, and it indicates combustion byproducts are condensing rather than exhausting.
- Hairline cracking in clay tile liners. These cracks, typically 0.5 to 2 millimeters wide, don’t yet allow smoke leakage. They’re thermal stress fractures from repeated heating and cooling, aggravated in Santa Clarita by summer attic temperatures that exceed 140°F. Left unaddressed, they propagate and spall tile material into the flue.
- Mortar joint recession. The refractory mortar between clay tiles erodes from the joint face inward. A 1/8-inch recession is still structurally acceptable under NFPA 211. Beyond 3/16 inch, the joint no longer supports proper gas sealing, and gaps become collection points for acidic condensate.
None of these conditions produce a smell. None alter fireplace performance in a way a homeowner would notice. All three are visible on camera, documented with timestamps, and tracked against prior inspections when a history exists.
The practical implication: if your last “inspection” was a flashlight glance from the firebox opening, these conditions were not evaluated. A flashlight cannot resolve hairline cracks at 15 feet of flue depth. It cannot distinguish Stage I glazing from clean tile. It cannot measure mortar recession. The Haven Standard requires camera documentation precisely because these early findings determine whether you’re scheduling a cleaning or a repair.
Creosote Stages 1, 2, and 3: What Each Looks Like on Camera
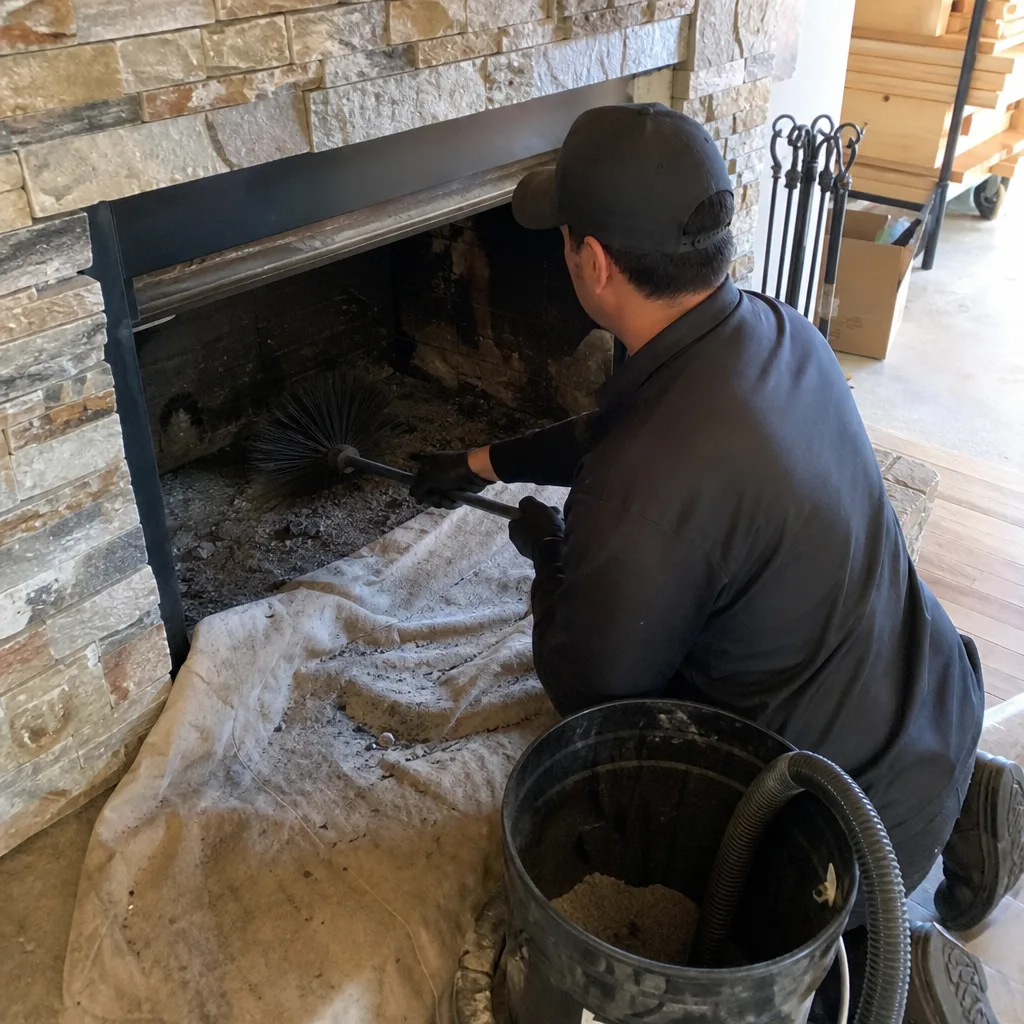
Creosote classification matters because each stage demands different cleaning methodology, carries different fire risk, and indicates different combustion conditions. The NFPA recognizes three stages, and our camera documentation protocol records which stage is present at each elevation of the flue.
Stage I: Soot and Light Glaze
On camera, Stage I creosote appears as a matte, powdery or lightly glazed deposit ranging from dark brown to black. It brushes off with a standard poly or wire brush during a Chimney Cleaning & Sweep in Santa Clarita. The deposit thickness is typically under 1/8 inch. Stage I indicates reasonable combustion efficiency but incomplete exhaust temperature - common with EPA-certified wood stoves operated at low burn settings, or with fireplaces using improperly seasoned wood.
Stage I is the only stage addressed by routine sweeping. It’s also the stage most homeowners never see, because it produces no symptoms and requires camera access to identify.
Stage II: Granular or Crunchy Deposits
Stage II creosote hardens into porous, granular flakes or brittle, tar-like layers between 1/8 and 1/4 inch thick. On camera, it reflects light differently than Stage I - the surface is uneven, with visible cracking or alligatoring. It cannot be removed with standard brushing. Mechanical chain flails or rotary cleaning heads are required, and the job takes 2 to 3 times longer than a Stage I sweep.
Stage II indicates sustained low-temperature burning, restricted air supply, or chronically green wood. In Santa Clarita, we see accelerated Stage II formation in homes with exterior chimneys on north-facing walls, where cold flue surfaces promote condensation of combustion gases.
Stage III: Glazed or Hardened Deposit
Stage III creosote is the condition that produces visible symptoms: restricted draft, smoke backup, and the highest chimney fire risk. On camera, it presents as a glossy, black or dark brown coating with a ceramic-like surface, often exceeding 1/4 inch thickness. It may completely obscure the flue liner beneath. Removal requires specialized chemical treatment, mechanical removal with powered devices, or in severe cases, liner replacement.
The critical point: Stage III creosote is almost always preceded by 18 to 36 months of documented Stage I and Stage II progression. A camera inspection at the Stage I window would have flagged the condition for routine sweeping, preventing the escalation.
| Stage | Camera Appearance | Removal Method | Typical Cost Range in Santa Clarita |
|---|---|---|---|
| Stage I | Matte powder or light glaze, <1/8" | Standard brush sweep | $189-$279 |
| Stage II | Granular, flaky, or tar-like, 1/8″-1/4″ | Rotary/mechanical cleaning | $329-$479 |
| Stage III | Glossy, ceramic-like, >1/4″ | Chemical treatment + mechanical; possible liner work | $589-$1,400+ |
These ranges reflect our written-price policy: every Santa Clarita homeowner receives a documented scope and fixed price before work begins, under Haven Standard Clause 1. No exceptions.
Santa Clarita Climate Damage: Thermal Cycling and Sundowner Wind Erosion
Santa Clarita’s specific climate patterns create chimney degradation mechanisms that don’t appear in generic warning-sign guides. Two conditions dominate: thermal cycling from extreme summer heat, and Sundowner wind events that drive moisture into crown and mortar systems.
Thermal Cycling and Clay Tile Spalling
Santa Clarita summer temperatures routinely exceed 105°F, and attic spaces above fireplaces commonly reach 140°F to 160°F. Clay flue tiles, which expand when heated and contract when cooled, experience accelerated fatigue. A tile that undergoes one thermal cycle per day (heating season evening burn, overnight cooling) in a moderate climate may experience additional stress cycles from summer attic heat - even with no fire burning.
The result is spalling: surface flaking of the clay tile interior. On camera, spalling appears as a rough, pitted texture where the tile face was previously smooth. Small flakes may be visible in the flue bottom. Spalled tile has reduced thickness and reduced heat resistance, making it more susceptible to cracking in the next heating season.
In Canyon Country and Sand Canyon homes with south- or west-facing chimney exposures, we’ve documented spalling rates roughly 40% higher than in shaded or north-facing installations. The difference is attributable to solar gain on the exterior chimney surface, which adds a secondary heat cycle to the flue interior’s combustion cycle.
Sundowner Wind and Mortar Erosion
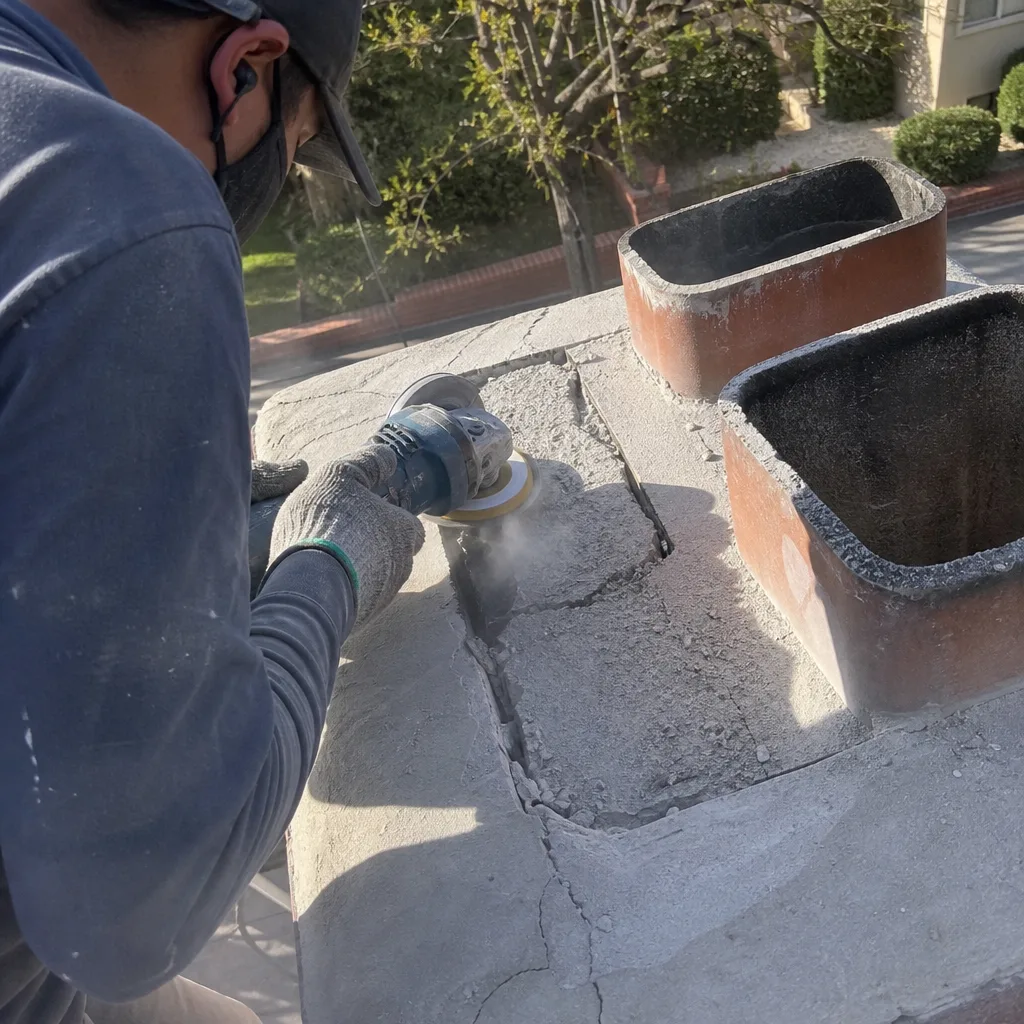
Santa Clarita’s Sundowner winds - hot, dry downslope flows from the north and northeast - carry fine particulate and create pressure differentials across chimney crowns. The sustained 30 to 50 mph gusts, particularly in late fall and early winter, drive dust and moisture into hairline crown cracks that formed during summer heat exposure.
The mechanism is cumulative: summer thermal cycling opens micro-cracks in the crown concrete or mortar cap. Sundowner winds in October and November deposit moisture and particulate into those cracks. The first winter rains then penetrate deeper than they would into an intact crown, reaching the flue liner top and beginning freeze-thaw damage to mortar joints.
On camera, we identify Sundowner-accelerated damage by a specific pattern: crown cracking radiating from the flue opening, combined with mortar joint erosion concentrated on the north and east flue faces (the windward exposures). This pattern differs from uniform aging, which shows consistent joint recession on all flue faces.
The practical warning sign: if your Santa Clarita home is in a Sundown-exposed area - Valencia north of McBean Parkway, Saugus near Bouquet Canyon, or any elevation above 1,500 feet - and your last inspection was more than 12 months ago, the crown-to-flue interface is the first place our camera goes.
Draft Problems: Dirty Flue vs. Structural Defect
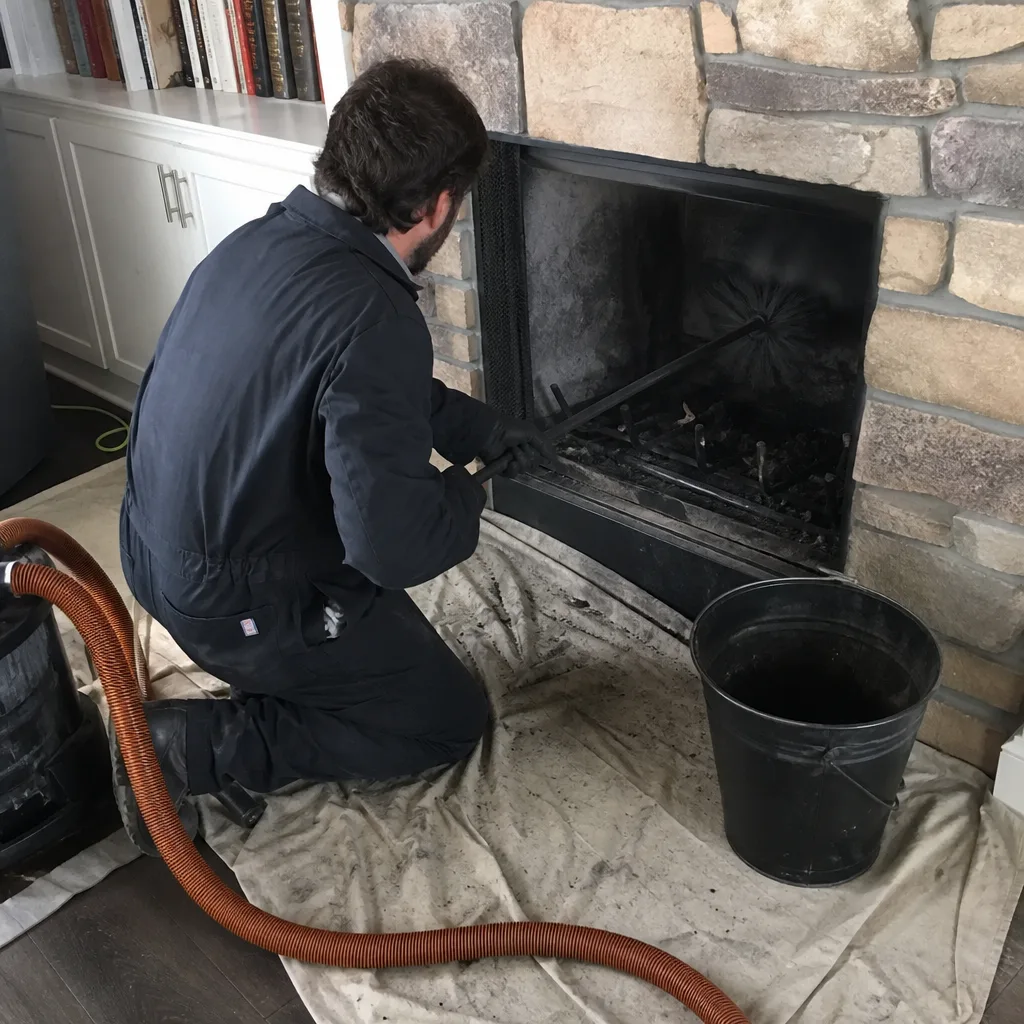
Smoke backing up into the room is the warning sign that finally prompts most calls. It’s also the symptom that tells us least about the underlying cause. A draft failure can originate from flue obstruction, liner damage, or external structural conditions - and the homeowner experience is identical in all three cases.
Dirty Flue Draft Failure
Progressive creosote buildup narrows the flue cross-section and roughens the interior surface, increasing friction against rising gases. The failure mode is gradual: the fireplace “doesn’t draw as well as it used to,” then occasionally smokes on light-off, then smokes persistently. The critical diagnostic question is whether draft failure correlates with burn intensity - a dirty flue typically performs adequately at high burn rates (hot gas rises faster) and fails at low rates.
Camera confirmation: uniform deposit thickness around the full flue circumference, with no visible liner damage. Cleaning restores normal draft in a single visit.
Structural Defect Draft Failure
Liner cracks, missing mortar joints, or displaced tiles create leak paths where exhaust gases escape the flue. The remaining flue cross-section may be clean, but it’s insufficient to handle the volume. Structural draft failure often worsens with higher burn rates (more gas seeking escape paths) and may correlate with wind direction - a cracked north face leaks more during north winds.
Camera confirmation: visible cracks, gaps, or spalling; creosote deposits may be minimal or absent on damaged sections because gases have been escaping through the defect rather than condensing on the surface.
External Condition Draft Failure
Tall trees growing near the chimney, new construction altering wind patterns, or damaged chimney caps can create downdraft conditions unrelated to flue condition. These failures are typically sudden (correlated with a specific event) and may reverse with wind changes.
Camera confirmation: clean, intact flue with no deposit or damage. The diagnosis requires exterior inspection of cap condition, surrounding vegetation, and building envelope changes.
The homeowner dilemma: all three conditions present as “my fireplace smokes.” A flashlight inspection from the firebox cannot distinguish them. A Level 2 camera inspection can, and the distinction determines whether you’re paying for a $219 sweep or a $2,400 liner repair. At Level Two Chimney Co., we deliver the written diagnosis - with photos - before proposing any work. Haven Standard Clause 1 requires it.
Exterior Warning Signs That Indicate Interior Liner Damage
Some warning signs are visible from outside the chimney, but their interpretation requires understanding what they signal about internal conditions. We’ve identified five exterior patterns that correlate with specific camera findings.
Efflorescence on the Chimney Breast or Exterior Masonry
White, powdery deposits on brick or stucco indicate water migration through the masonry. The source may be crown leaks, flashing failure, or condensate from a compromised flue liner. The critical distinction: efflorescence concentrated on the chimney face below the roofline suggests exterior water entry (crown or flashing). Efflorescence on the chimney breast inside the home, or on exterior surfaces at the firebox level, strongly suggests flue liner breach - combustion condensate or rainwater entering through liner cracks and migrating through the smoke chamber wall.
Camera correlation: liner cracks or missing mortar joints at the elevation corresponding to the interior efflorescence height.
Staining Patterns on the Chimney Crown or Cap
Rust staining on a metal flue cap indicates condensate with acidic content reaching the cap interior. In a properly functioning flue, combustion gases exit before significant condensation occurs. Persistent cap rust, especially on stainless steel caps that should resist corrosion, signals that gases are cooling excessively before exit - often because liner damage is allowing dilution air infiltration that drops flue gas temperature below the acid dew point.
Camera correlation: liner cracks below the cap elevation, or displaced tiles creating air infiltration paths.
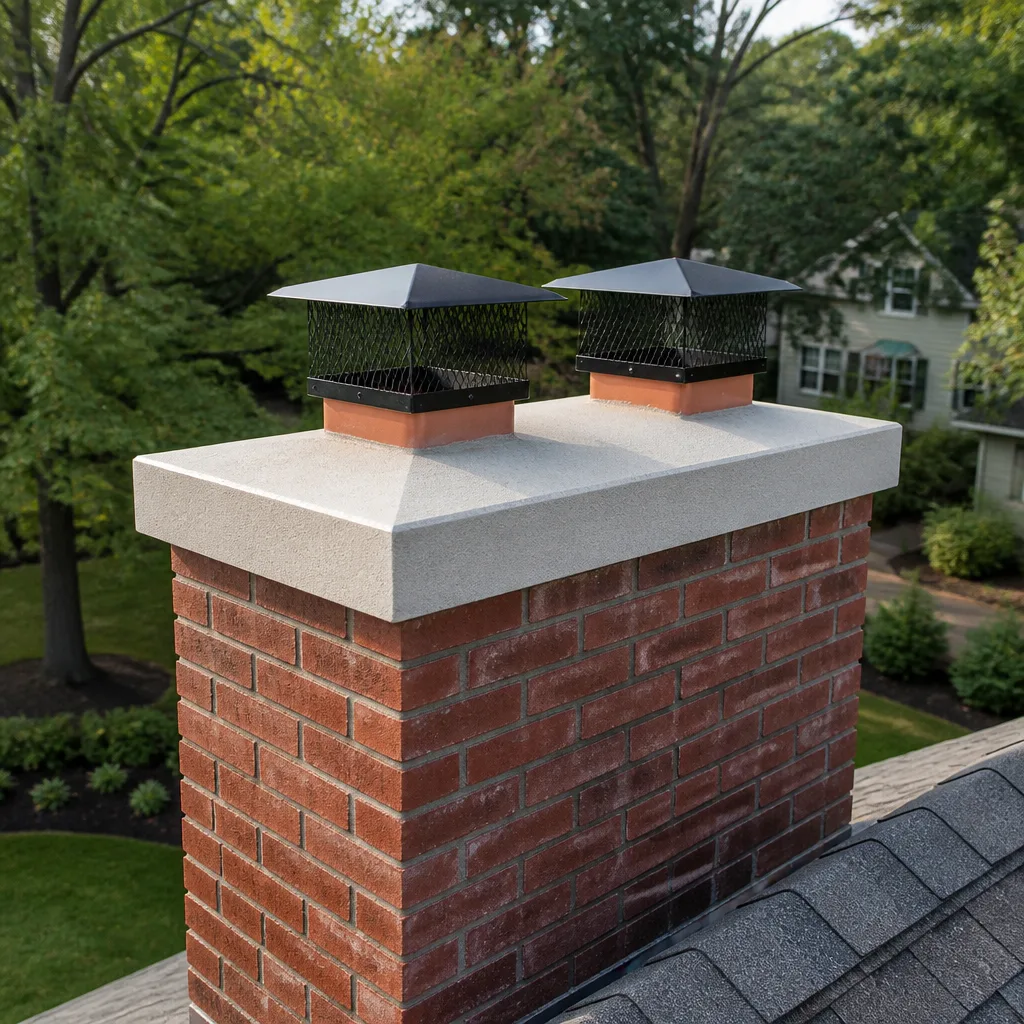
Spalled or Missing Mortar on the Crown Surface
Crown mortar deterioration exposes the flue liner top to direct water entry. But the pattern of deterioration matters. Uniform weathering around the full crown perimeter indicates age and material failure. Deterioration concentrated on the north and east sides, as noted in our Sundowner discussion, indicates wind-driven moisture penetration that may have already reached liner mortar joints.
Camera correlation: mortar joint saturation and softening at the flue top, visible as darkened, crumbly mortar on camera.
Chimney Cap Displacement or Damage
A cap that has shifted, corroded through, or lost its mesh indicates physical damage - often from wind, impact, or improper installation. The cap’s primary function is preventing water and animal entry while maintaining adequate exhaust flow. A damaged cap allows water directly onto the flue liner top, and the resulting freeze-thaw cycling accelerates liner mortar failure.
Camera correlation: water staining and mortar softening concentrated at the flue top, often with white mineral deposits from evaporated moisture.
Vegetation Growth in Mortar Joints
Small plants or moss in exterior masonry joints indicate chronic moisture retention. On a chimney, this almost always means water is entering somewhere above and migrating down - crown, cap, or flashing. The moisture path follows the same route that combustion gases would follow if liner cracks develop.
Camera correlation: elevated moisture readings in mortar joints (when moisture meters are used alongside camera inspection), and increased likelihood of joint recession or spalling.
These exterior signs don’t replace camera inspection. They indicate where the camera should focus, and they help homeowners understand why an interior inspection is warranted even when “the fireplace seems to work fine.”
How to Document a Warning Sign Before Calling a Sweep
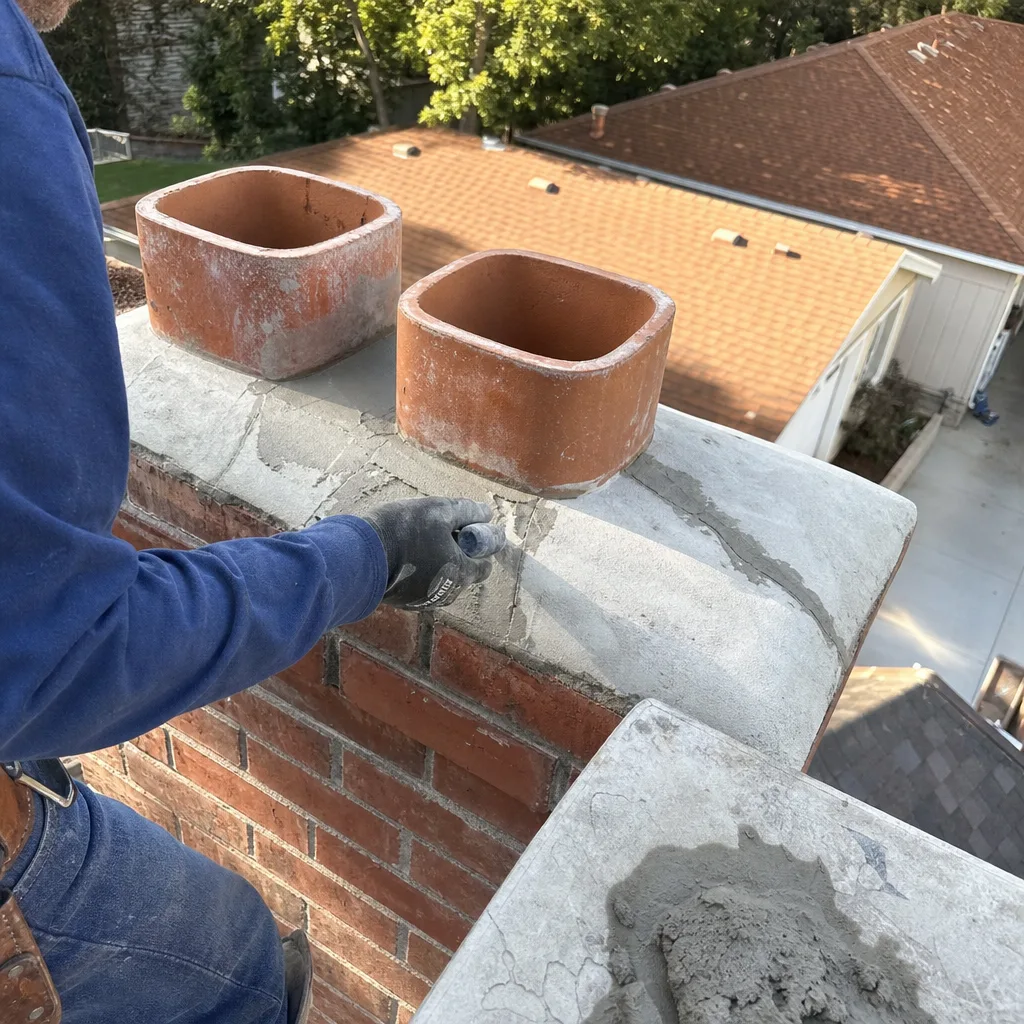
One of the most common disputes in chimney service involves the condition of the system before work began. A homeowner notices a smell, calls for an inspection, and is told the flue requires extensive repair. Without documentation of the pre-inspection condition, there’s no basis to evaluate whether the recommended work addresses a new finding or a long-standing condition.
We’ve handled free second opinions on competitor estimates where the “urgent” liner damage was visible in photos from three years prior - photos the previous company never provided to the homeowner. Documentation protects both parties. Here’s how to create it.
- Photograph the exterior from four angles. Stand at ground level and capture the full chimney height from north, south, east, and west. Include the roofline, crown, cap, and any visible flashing. Timestamp the photos (most phones do this automatically; verify it’s enabled).
- Photograph any visible interior signs. Soot on the firebox walls, smoke stains on the hearth extension, water stains on the chimney breast or adjacent ceiling - document with date-stamped photos before cleaning or inspection disturbs the evidence.
- Record the specific symptom and its conditions. Note: date first noticed, weather conditions (temperature, wind direction if known), fire type (wood species, gas setting), and whether the symptom is consistent or intermittent. Written notes are admissible; memory is not.
- Request camera documentation during inspection. Under Haven Standard Clause 4, we provide timestamped photo records of all findings. If using another provider, specifically request: photos of the full flue length, close-ups of any identified defects, and elevation markers showing where each finding is located.
- Compare against prior documentation if available. If you’ve had previous inspections, request the photo record and compare current findings to historical condition. Progressive damage documented over time supports insurance claims and warranty disputes.
- Obtain written scope and price before work begins. Haven Standard Clause 1 requires this; we won’t start work without it. If a provider won’t commit findings and pricing to writing, that’s a finding in itself.
The documentation process takes 15 minutes and costs nothing. It has saved Santa Clarita homeowners thousands in disputed charges, and it provides the evidentiary basis for our Free Second Opinion service - bring us any competitor’s written estimate, and we’ll evaluate it against your documentation at no charge.
When to Schedule Inspection Based on Home Age and Fuel Type
NFPA 211 recommends annual inspection for all chimney systems, but the practical urgency varies with fuel type, system age, and local conditions. Our Santa Clarita-specific guidance reflects what we’ve documented across 38,000 inspections.
Wood-Burning Fireplaces and Stoves
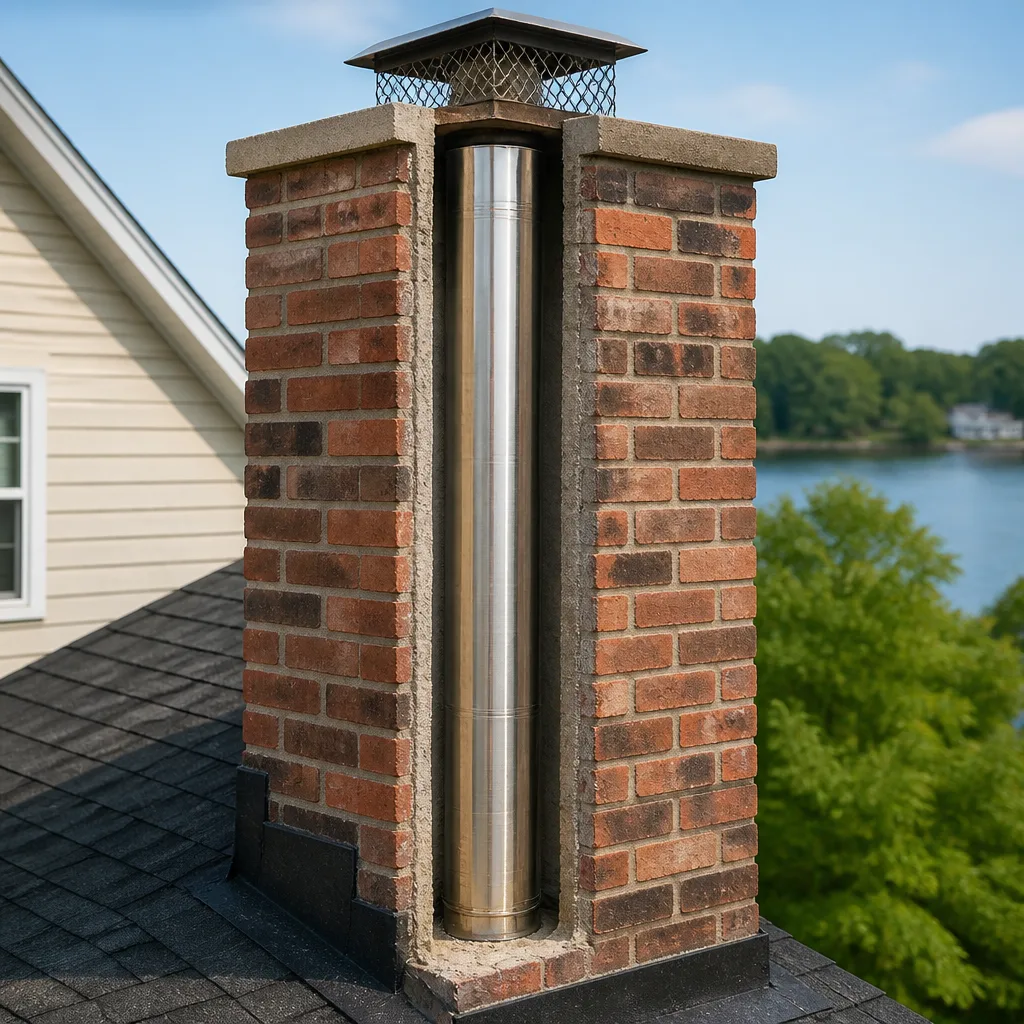
Annual Level 2 inspection with camera documentation is non-negotiable for active wood-burning systems. Santa Clarita’s combination of dry winters (encouraging wood burning) and hot summers (accelerating liner thermal fatigue) creates a wear pattern we don’t see in coastal or mountain climates. Homes in Stevenson Ranch and Westridge, where newer construction often includes factory-built fireplaces with metal chimneys, require particular attention to connector joint corrosion - a camera finding that flashlight inspections miss entirely.
Gas Log Sets in Existing Fireplaces
Gas burns cleaner than wood, but the chimney still functions as the exhaust path. More critically, gas combustion produces water vapor that condenses in cool flues, creating acidic condensate that degrades mortar and metal liners. We recommend biennial inspection for gas log systems, annual if the fireplace was converted from wood without liner evaluation. The conversion often leaves a flue oversized for gas exhaust, promoting the condensation that damages liners from the inside.
Pellet Stoves
Pellet systems have their own venting requirements, but many Santa Clarita installations exhaust into existing chimneys. The low-temperature, high-moisture exhaust is particularly aggressive toward clay tile. Annual inspection, with specific attention to the flue section below the pellet vent connection where condensate collects.
Homes Built 2015-2025
Newer construction in Santa Clarita - particularly in Valencia, Saugus, and Canyon Country developments - often includes factory-built fireplaces with listed chimney systems. These systems have design lives of 15 to 25 years under optimal conditions, but installation defects are common. We’ve documented improper clearances, missing firestops, and unsealed chase covers in homes less than five years old. The first inspection should occur before the first burn season, even on new construction.
Homes Over 30 Years Old
Clay tile liners in older Santa Clarita homes - particularly in original Valencia and Newhall construction from the 1960s through 1980s - are at or beyond design life. Mortar joints have experienced decades of thermal cycling. We recommend annual inspection with specific attention to joint recession patterns and tile displacement. Liner replacement, typically with a stainless steel system from Chimney Repair in Santa Clarita using DuraFlex or Olympia Chimney components, becomes a predictable maintenance item rather than an emergency.
Common Mistakes to Avoid
- Assuming no smell means no problem. The most expensive repairs we handle in Santa Clarita started as silent liner degradation. By the time smoke reaches your nose, the flue has typically been compromised for multiple seasons.
- Treating a flashlight look as an inspection. NFPA 211 defines three inspection levels; only Level 2 includes internal camera documentation. A flashlight from the firebox opening evaluates approximately the first 18 inches of a system that may extend 25 feet.
- Ignoring summer chimney conditions. Santa Clarita’s extreme summer heat accelerates thermal fatigue even when the fireplace isn’t in use. Scheduling inspection only in fall means missing the degradation that occurred during June through September.
- Accepting verbal estimates. Without written scope, written price, and written warranty - Haven Standard Clause 1 - you have no recourse if recommended work expands after the technician arrives. We provide all three before any work begins.
- Using unseasoned or “green” wood. Wood with moisture content above 20% produces Stage II and Stage III creosote at 3 to 4 times the rate of seasoned hardwood. In Santa Clarita’s dry climate, properly stored wood reaches 15% to 18% moisture in 6 to 8 months. The “wood” sold by roadside vendors in late October is rarely adequately seasoned.
- Installing a chimney cap without inspecting the flue first. A new cap on a compromised liner traps moisture and accelerates damage. We inspect before capping; the cap specification depends on flue condition, not just dimensions.
- Delaying inspection after a chimney fire. Even a small chimney fire (often audible as a rumbling or cracking sound, or visible as dense smoke from the cap) causes liner damage that may not be immediately apparent. Inspection should occur before the next burn; operating on a fire-damaged liner risks carbon monoxide intrusion or structural fire.
When to Call a Professional
Schedule a Level 2 inspection now if: your last inspection was more than 12 months ago; you’ve noticed any smoke backup, odor, or visible staining; you’ve purchased a home with no documented inspection history; or your system is over 15 years old and has never had camera documentation. In Santa Clarita’s climate, these conditions warrant evaluation regardless of apparent performance.
Level Two Chimney Santa Clarita offers free estimates throughout Santa Clarita - from Valencia to Canyon Country, Saugus to Newhall. Every estimate includes a written scope, written price, and written warranty before any work begins, under Haven Standard Clause 1. Call (747) 294-2146 to schedule. Live phone support is available 24 hours a day, 7 days a week - you’ll speak to a person, not a voicemail system.
Frequently Asked Questions
A standard Level 2 chimney sweep with camera inspection in Santa Clarita typically ranges from $189 to $279 for Stage I creosote conditions, $329 to $479 for Stage II mechanical cleaning, and $589 to $1,400 or more for Stage III chemical treatment or liner-related work. Every homeowner receives a written price before work starts, with no exceptions. Call (747) 294-2146 for an exact quote - estimates are free.
You need a new liner only if camera documentation shows the existing liner is compromised beyond repair - cracked tiles with displacement, mortar joints recessed beyond 3/16 inch, or spalling that reduces tile thickness below manufacturer specification. We provide the photos, explain the findings in plain terms, and offer a Free Second Opinion on any competitor’s written estimate recommending liner replacement. Many “liner replacement” recommendations we’ve reviewed were addressable with targeted repair.
Active wood-burning systems should be inspected and swept annually in Santa Clarita due to the combined effect of winter burning and summer thermal cycling. Gas systems merit biennial inspection. The specific frequency depends on fuel type, burn volume, and documented creosote accumulation rate from prior inspections. Our 38,000-job database shows Santa Clarita wood-burners average 1.3 years between Stage I and Stage II progression - annual inspection catches the transition.
Skipped cleaning allows Stage I creosote to progress to Stage II or III, increasing chimney fire risk and potentially requiring mechanical or chemical removal at 2 to 5 times the cost of routine sweeping. More critically, undetected liner damage from thermal cycling or moisture intrusion progresses to the point where carbon monoxide can leak into living spaces or structural fire risk develops. The documented photo record from regular inspection is what proves your system was maintained - or wasn’t.
A chimney sweep is the physical cleaning of flue deposits. A Level 2 inspection is the evaluation protocol - camera scan, documentation, and condition assessment - that determines whether sweeping is sufficient or repair is needed. At Level Two Chimney Co., every sweep includes Level 2 inspection as standard; we don’t clean without knowing what we’re cleaning and documenting what we found. Haven Standard Clause 4 requires the photo record.
Consumer-grade inspection cameras lack the lighting, articulation, and resolution to evaluate flue conditions at depth. More importantly, interpretation requires training: distinguishing Stage I from Stage II glazing, identifying crack patterns that indicate active failure versus historical stress, and measuring mortar recession against NFPA tolerances. We don’t recommend DIY evaluation for the same reason we don’t recommend DIY dental X-rays. The camera is a tool; the expertise is in reading what it shows.
The Bottom Line
The chimney warning signs that matter most in Santa Clarita are the ones you cannot see or smell. Stage I creosote, hairline thermal cracks, and mortar joint recession progress silently through one or two burn seasons before producing symptoms. By the time smoke backs up or odors develop, the intervention window has narrowed from a routine sweep to potential liner repair. Santa Clarita’s climate - extreme summer heat, Sundowner wind exposure, and dry winter burning conditions - accelerates this progression relative to coastal or mountain regions.
The protective action is scheduled Level 2 inspection with camera documentation, not symptom response. Since 2009, we’ve completed more than 38,000 chimney inspections and cleanings under the Haven Standard, every one with a written price before work started and a documented photo record when done. The 365-Day Done Right Promise backs every job. If your last inspection was a flashlight glance, or if you have no documented inspection history, the warning sign you’re looking for is the absence of documentation itself.
Written by Corrine Halstead, Owner at Level Two Chimney Santa Clarita, serving Santa Clarita since 2009.